
As you probably know, there are millions of apps out there on iTunes, and the competition is further getting tough. So, how would you make your app stand out in the competition? Why would anyone want to use your application or at all pay money to buy it? Therefore, it is important that you craft a unique and innovative idea, ensuring that there aren’t other applications that offering the same thing as you propose. If you wish to build something better than what is already there, think creatively how you can actually make it better.

Apple iPhone uses a variation of Mac Operating System and recently, iPhone development tools are available only for Mac users. Though you can design an app in jail break mode on a PC, but eventually you will need a Mac to get it up in the App Store. So, make sure that you have a Mac or at least Mac mini at your disposal.
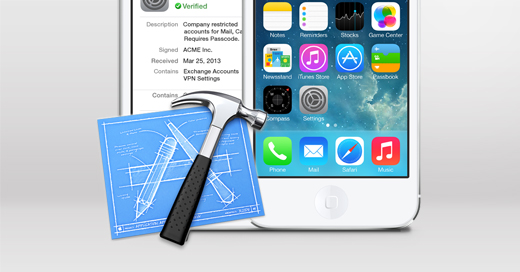
Register as an Apple developer for free and then you can create iPhone apps for Mac products. Next, download the Software Development Kit for the iPhone. The SDK version you need depends on the operating system you are using. It could take several hours to download the SDK since it comprises of different sorts of sample codes, documentation, and other components that you will need later on.
If you don’t have it, download Xcode. It is a full-featured IDE that is built around smooth workflow, integrating source code editing, with build and compile steps. It takes through a graphical debugging experience, without actually leaving view of the source code. An important component in developing iPhone apps, make sure that you download it full, which might take few hours again.
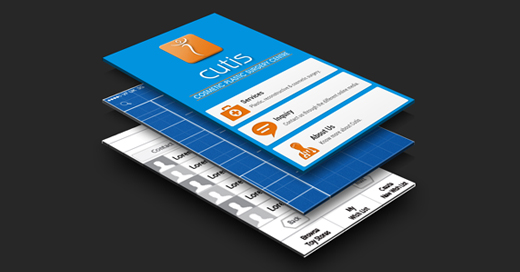
First, have your app drawn on paper or in Photoshop and then start designing it with attractive templates available in the SDK. Here, you will have a wide range of templates to choose from, giving your app a unique and compelling look. Go through a large number of video tutorials to know how to use the templates to design iPhone apps effectively.You can also download iOS7 GUI (Graphic user interface) PSD for design guidelines.

This is one of the most important steps in developing an iPhone app – programming your application. For this, you have to learn Objective-C for Cocoa, which is a powerful programming language, designed to develop apps for iPhone. If you love programming, learning Objective-C will not be something critical for you. Otherwise, you might hire someone or seek help from your programmer friend. Next, program the application in Objective-C, which might take several weeks or even months. Make sure that you take screenshots at every step so that you can go back to the basic if things aren’t working out.
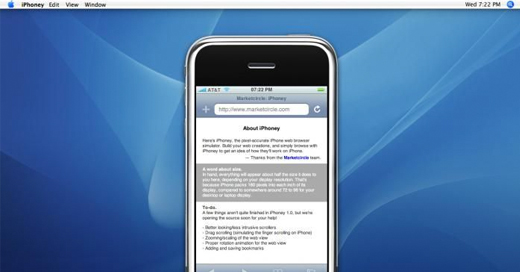
The Software Download Kit comes with cutting-edge iPhone Simulator that helps you test your app before submitting it to the iTunes. Once you have finished programming, upload the app into iPhone Simulator and test it. At this stage, try to eliminate as much bugs as possible and think of different ways the app might be used. Open iPhone Simulator and follow the instructions to upload your app and test it.
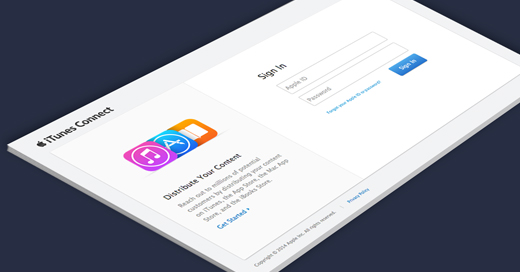
To upload your app on iTunes, first login to iTunes, connect with your username and password, and then click “Manage Your Applications.”Add New Application and select whether your app contains Encryption. Click to “Continue.” Adding an app to iTunes costs a one-time membership fee of $99.
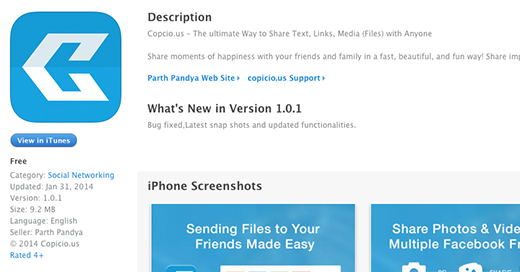
This is one of the most important steps where you need to provide data pertaining to the new app. This includes providing the Application Name that will appear in iTunes, Application Description, Device Requirements, Primary Category, Secondary Category, Version Number, SKU Number, Keywords, Application URL, Support URL, Support Email Address, and Demo Account. Also rate your app on the basis of its influence on children and content.

Have others in the app community test the application, which can help in working out with final bugs and improve the product.

Finally, follow the instructions to upload and submit your app on iTunes – Application >> Large 512 x 512 Icon >> Primary Screenshot >> Additional Screenshots. Also provide the Availability Date, Pricing, and an App Store Selection if you don’t want the application to be available worldwide. Localize your app by customizing description of the application for each country’s App Store. Being multi-lingual here can generate overwhelming sales for your app, globally. Here, you app needs approval before it appears on iTunes. The process of approval might take some time; so, you have to be patient.
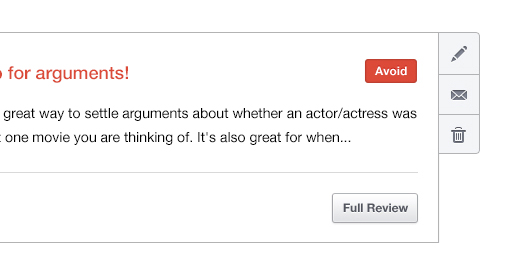
Finally, review the product once it is uploaded in iTunes. Make sure that you don’t goof up here and therefore, add a compelling and realistic review that will attract users to buy the app or at all, download it for free.
Follow these steps in developing a unique and engaging iPhone app, and submit it to iTunes. Better you market it; more traffic will roll in, generating revenues for you. However, make sure that you do it right. You can also hire a programmer to help you with developing an app and submitting it to the App Store.
Subscribe to our newsletter and learn about the latest digital trends.