Laravel Breeze is a lightweight starter kit that provides a simple and convenient way to implement authentication in Laravel applications. It was introduced in Laravel version 8.x as a replacement for the deprecated Laravel UI package.
Laravel Breeze provides a simple way to implement Laravel’s all authentication features like login, registration, password reset, email verification, and password confirmation in Laravel application.
It provides a view layer with its Tailwind CSS. If you need to build a fast startup for your application then you should use it.
To use Laravel Breeze, you need to create a new Laravel application, configure a database, and run migration.
Explanation of Laravel Breeze:
Breeze utilizes Laravel’s built-in authentication features and includes the necessary views, routes, and controllers to quickly set up a fully functional authentication system. It is designed to be easy to use and customizable, making it a great starting point for new Laravel projects or for quickly adding authentication to existing projects.
Benefits of using Laravel Breeze:
Fast and easy setup: Laravel Breeze is designed to be simple and easy to set up, allowing you to get up and running with authentication quickly.
Customizable: Breeze provides a solid foundation for your authentication needs, but also allows for customization of the authentication views and routes to fit your project’s unique requirements.
Scalable: Breeze is built using Laravel’s built-in authentication features, which are designed to be scalable and able to handle high-traffic websites.
Security: Laravel Breeze implements industry-standard security features such as password hashing, CSRF protection, and two-factor authentication.
Requirements for following the tutorial:
To follow this tutorial, you will need the following:
PHP version 7.4 or higher installed on your system.
A working installation of Laravel version 8.x or higher.
Basic understanding of Laravel framework and PHP programming.
Familiarity with web development concepts such as HTML, CSS, and JavaScript.
With these requirements in place, you’ll be ready to start building your Laravel Breeze application. In the next section, we’ll go over the installation and setup process.
Now to use Laravel Breeze, run below artisan command to install it in your application, and to compile CSS use npm.
php artisan breeze:install
npm install
npm run dev
You can check all your auth routes in web/auth.php file
There are routes for Login, Register, Forgot Password, Reset Password, Verify Email, Confirm Password.
Now run your app and open http://localhost:8000/login and http://localhost:8000/register to view the output.
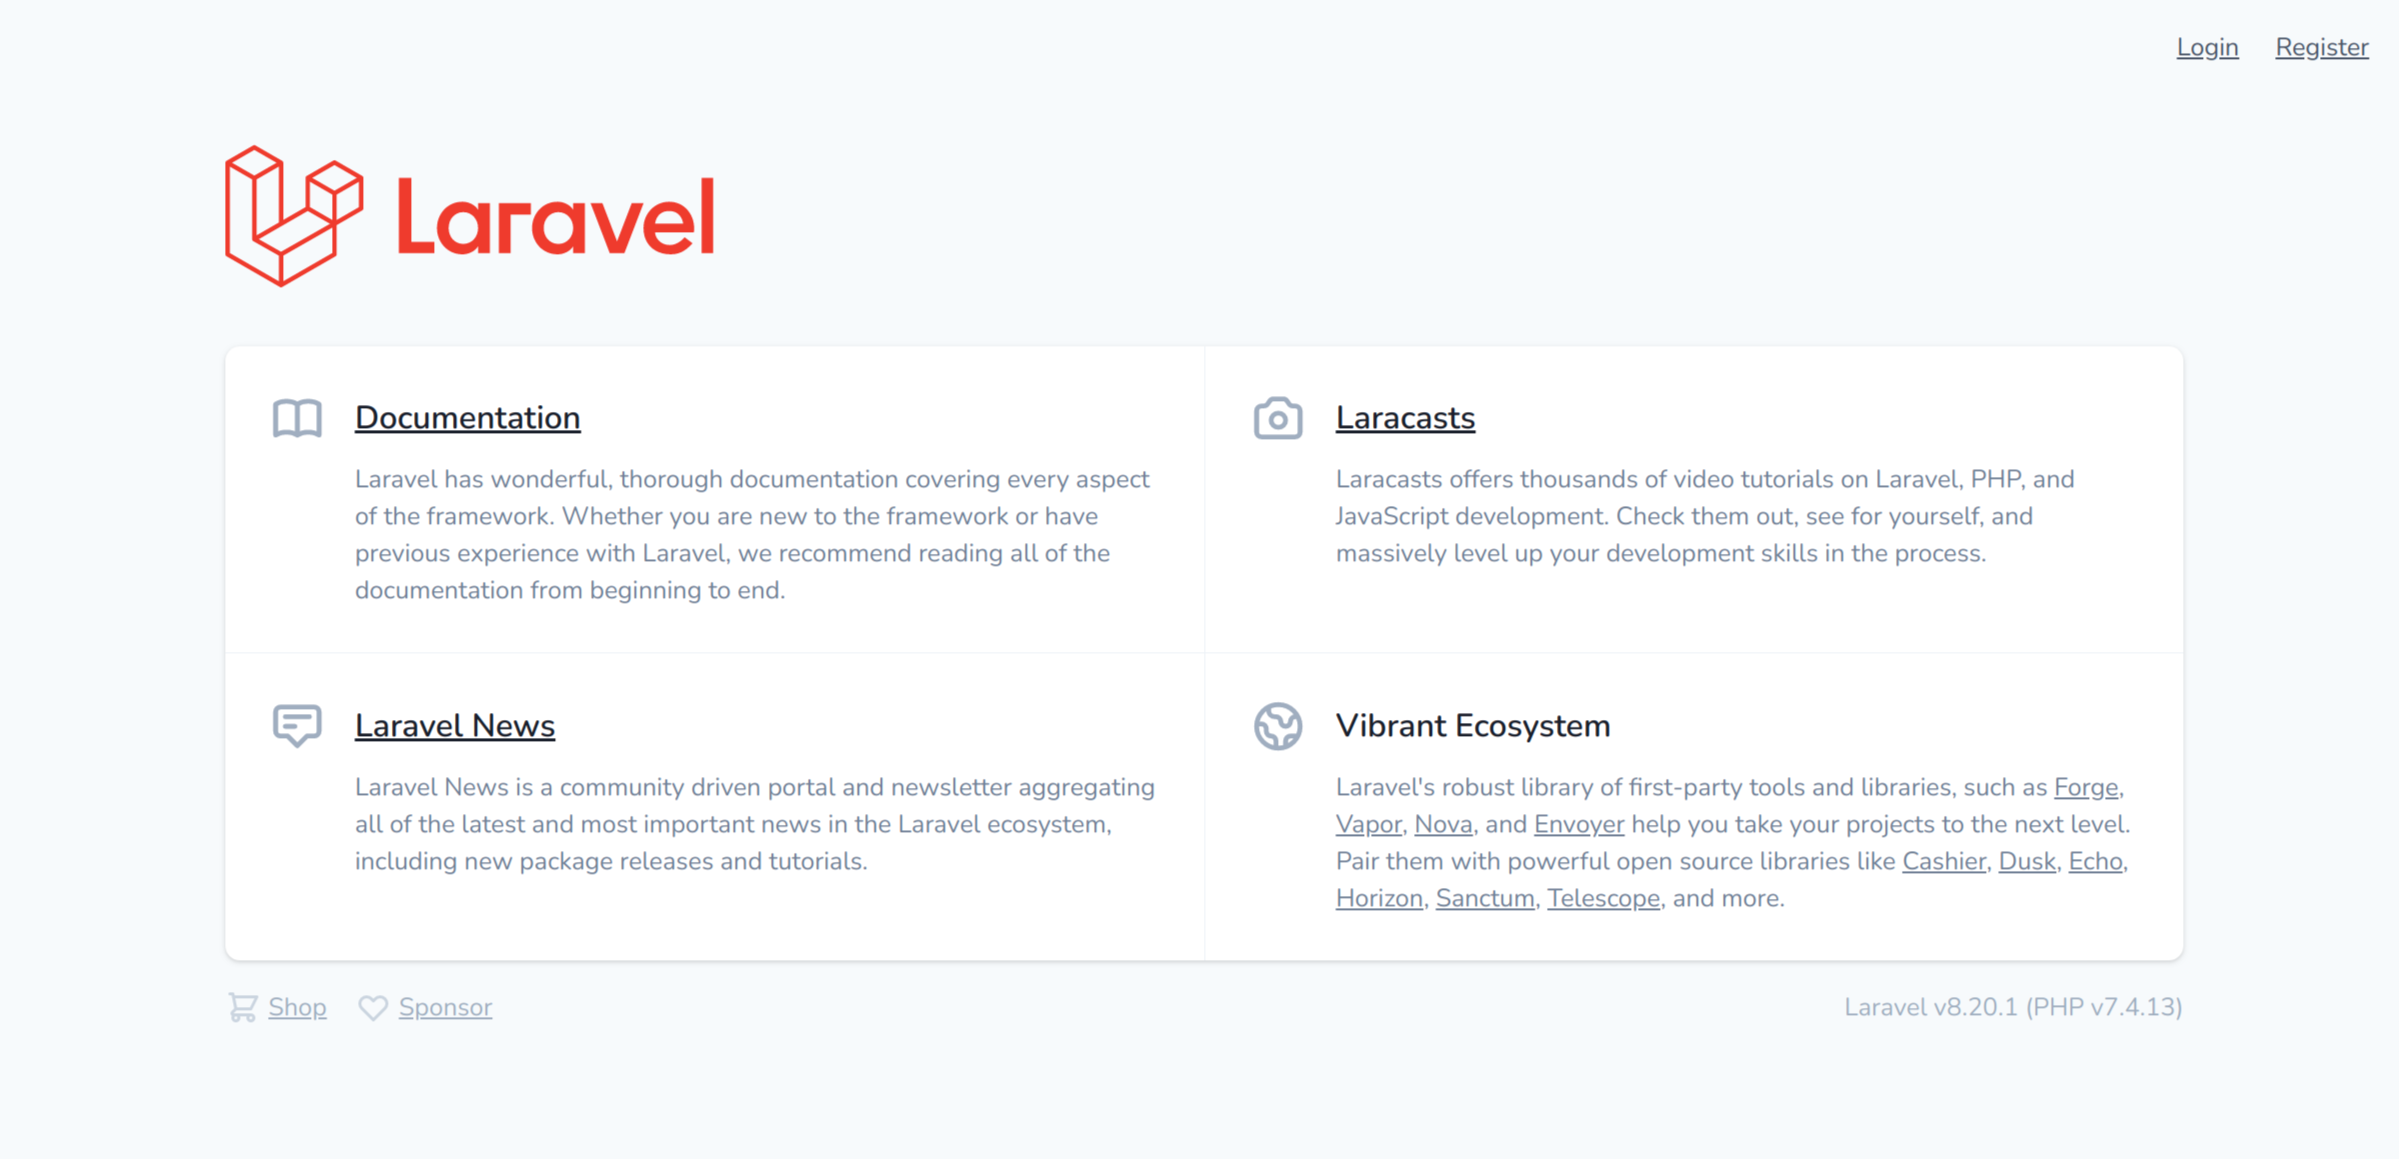
As you run your application you will find the following screen scaffold for your application.
Home
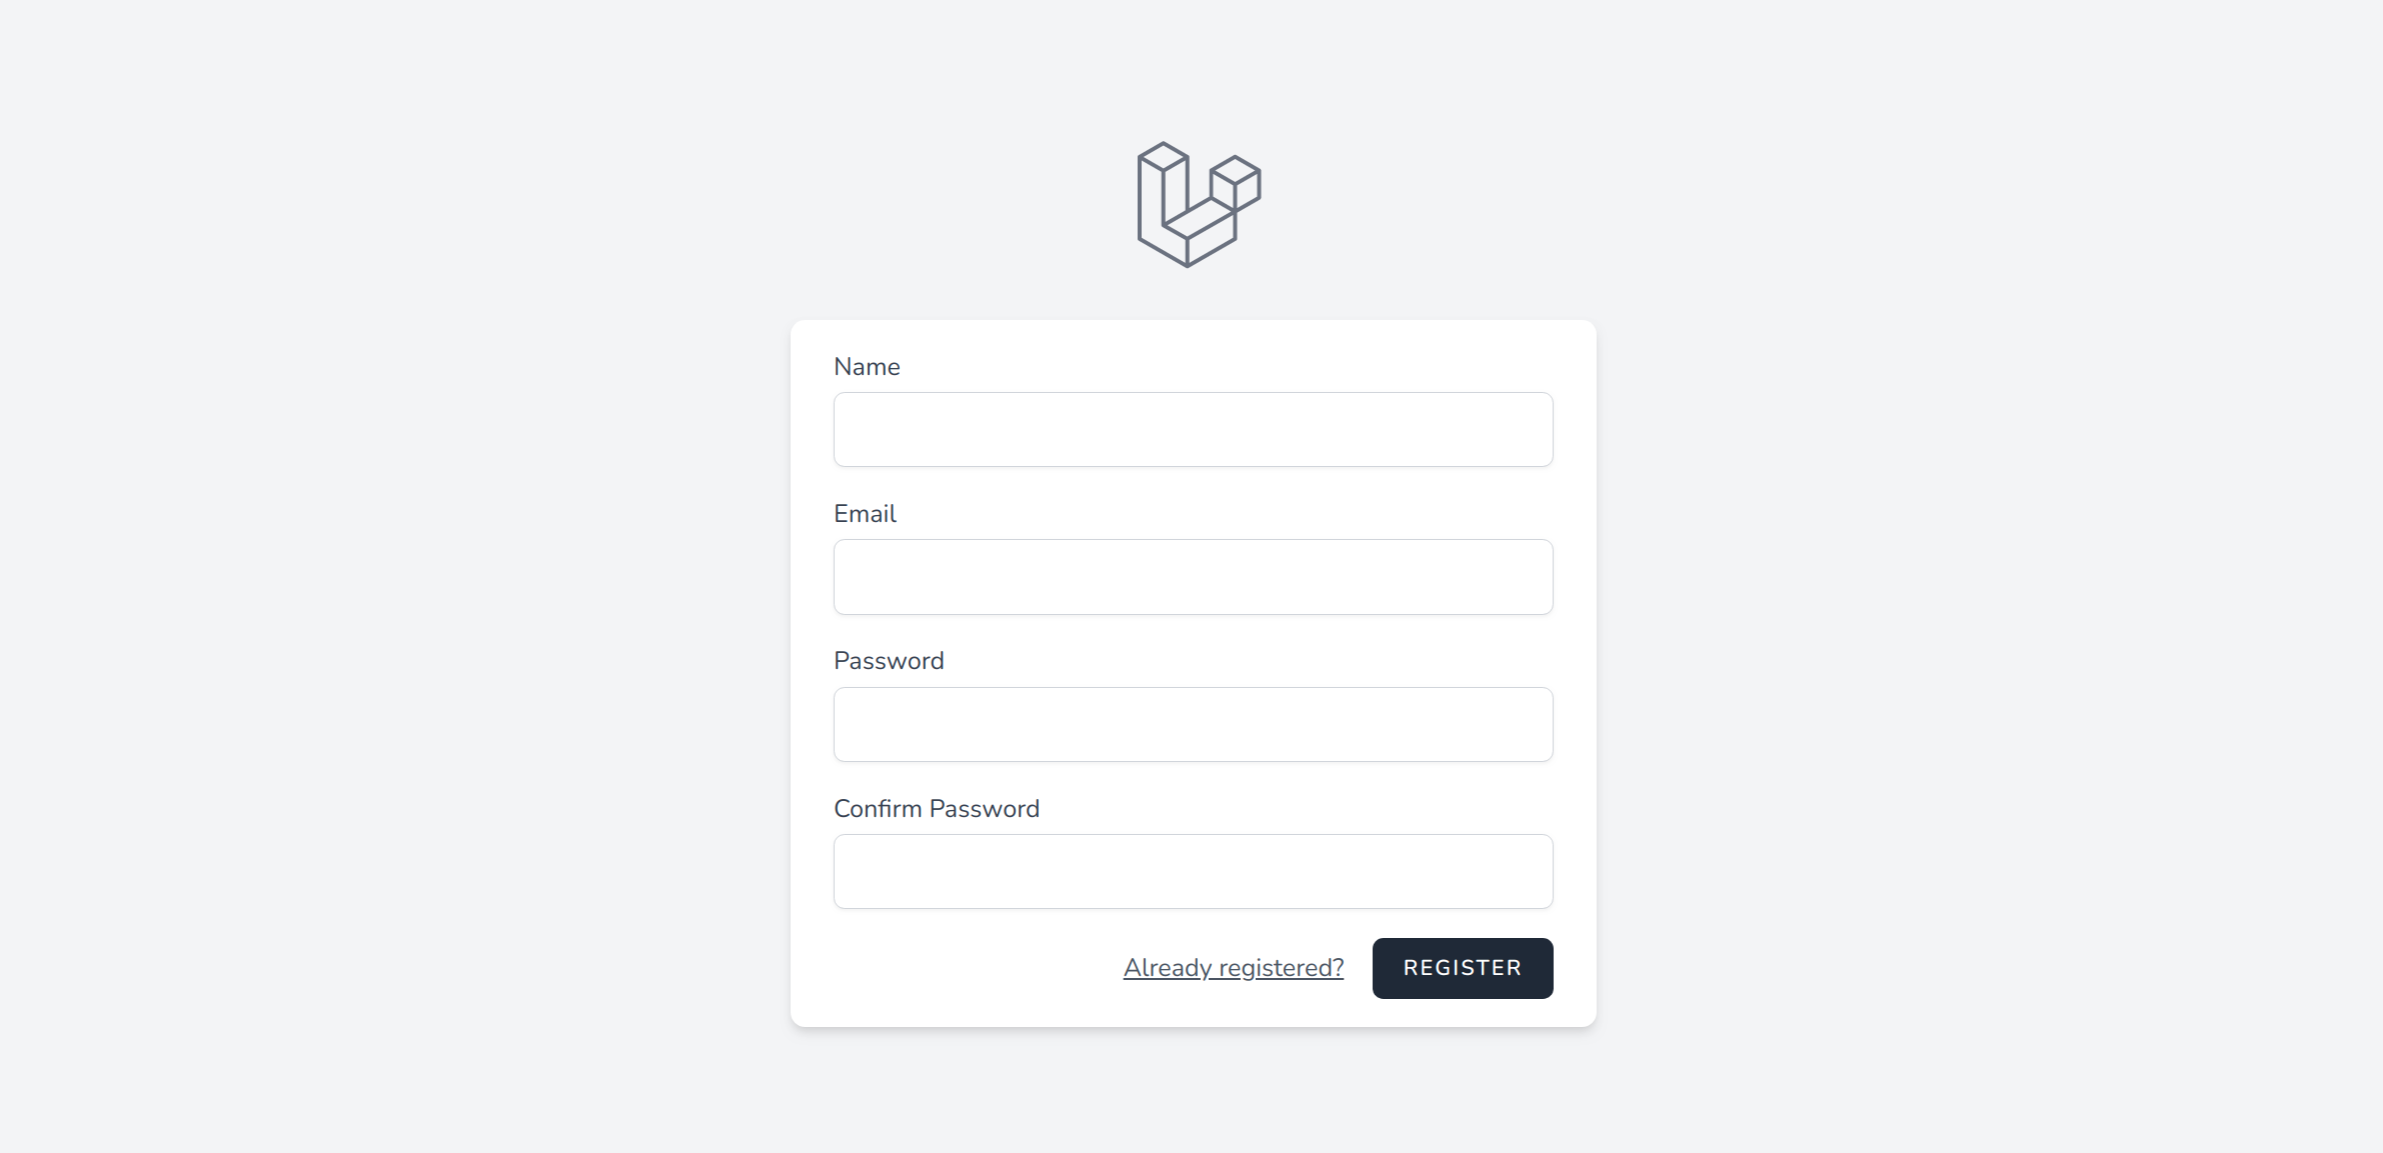
Registration
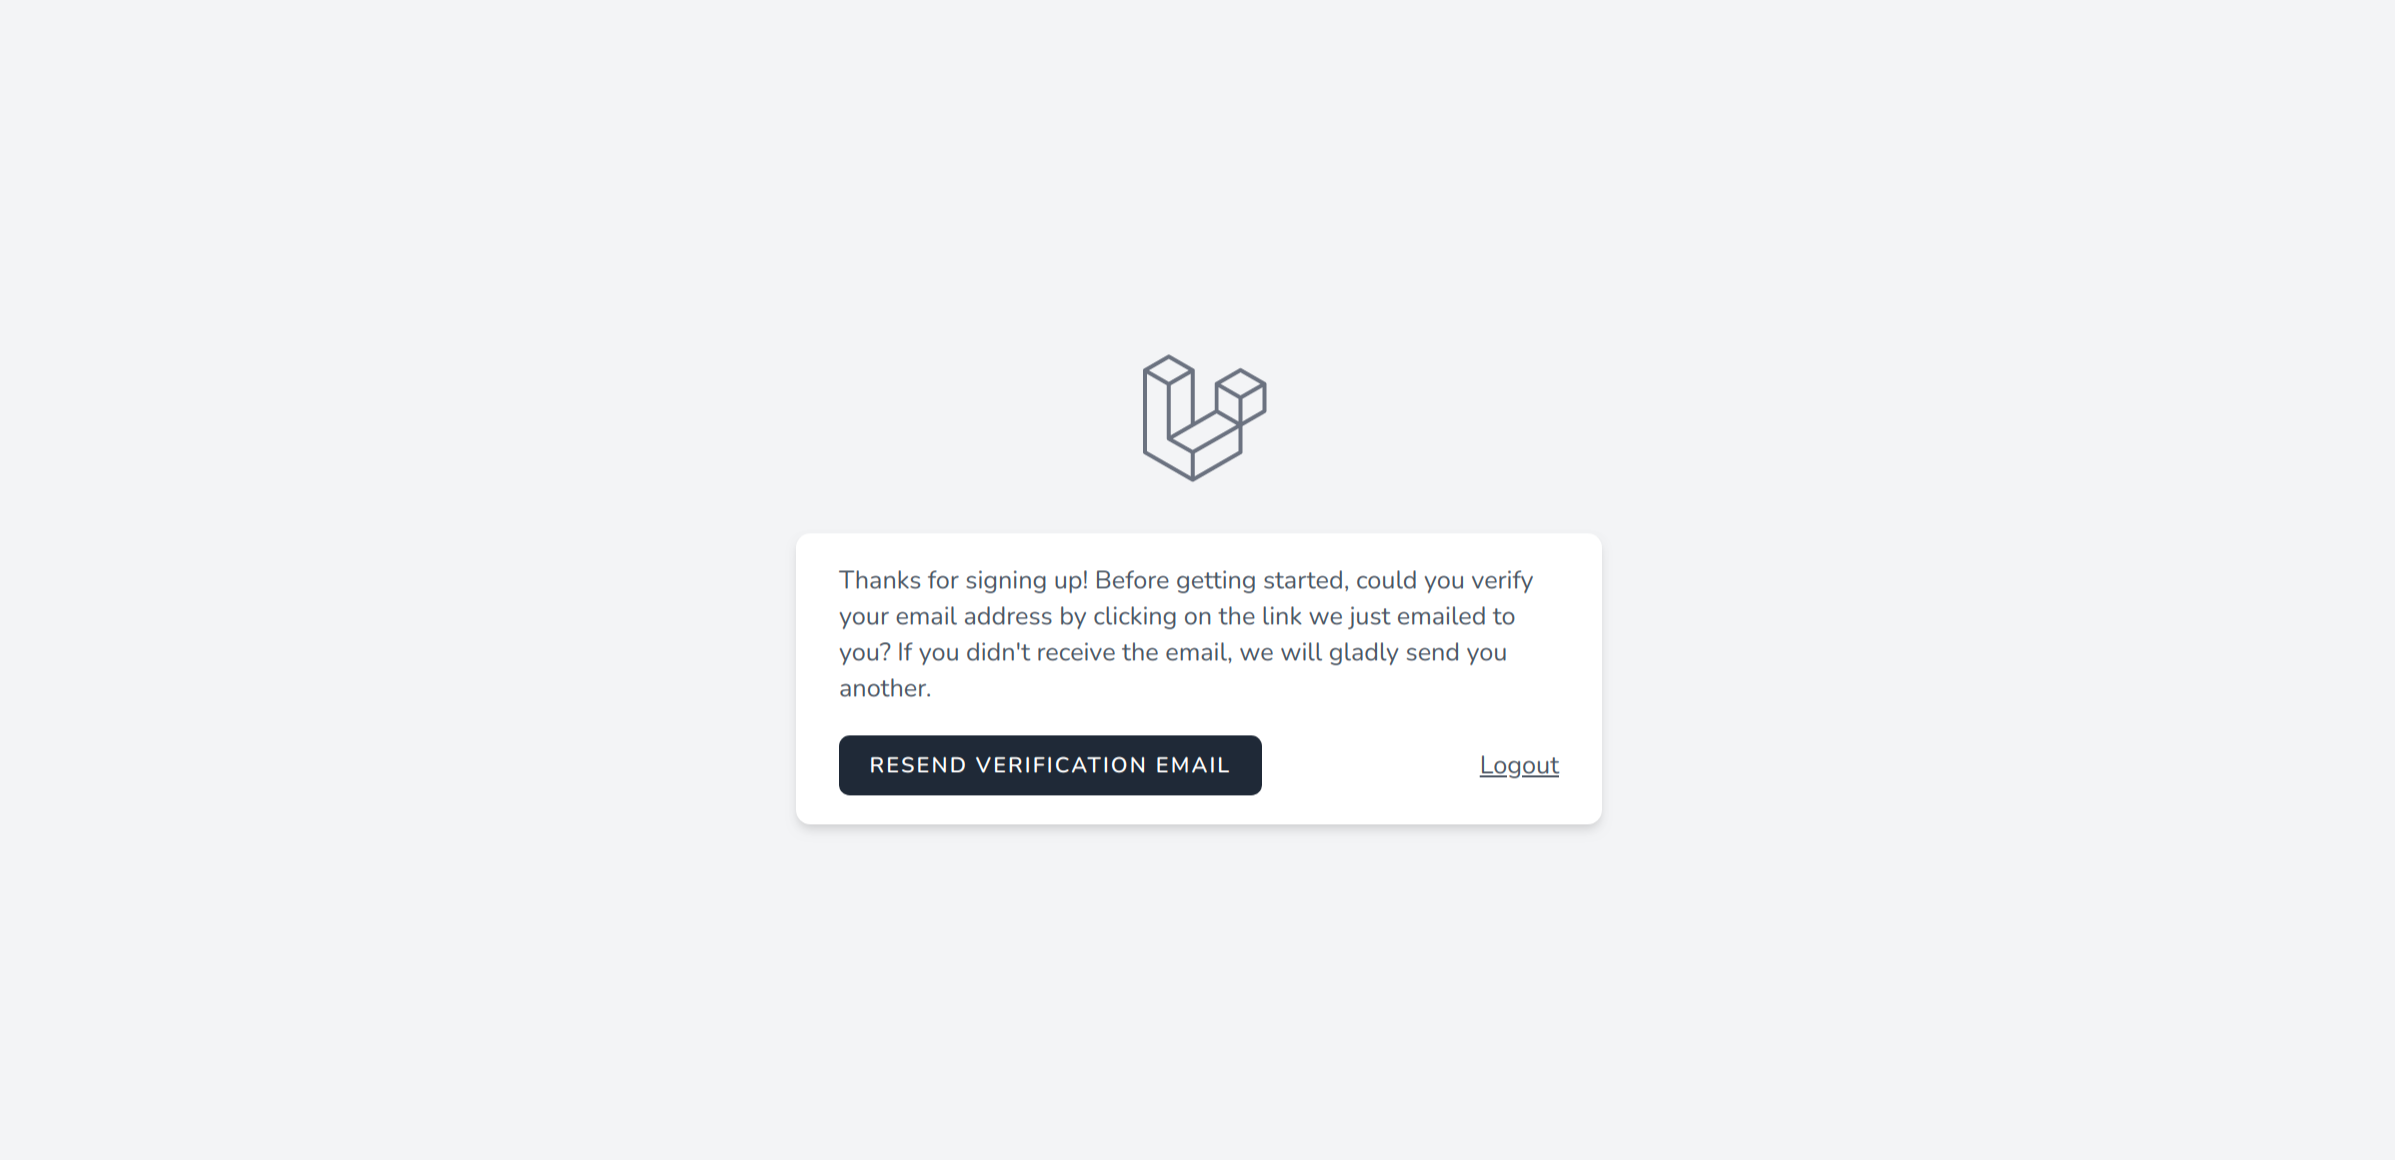
Verify Email
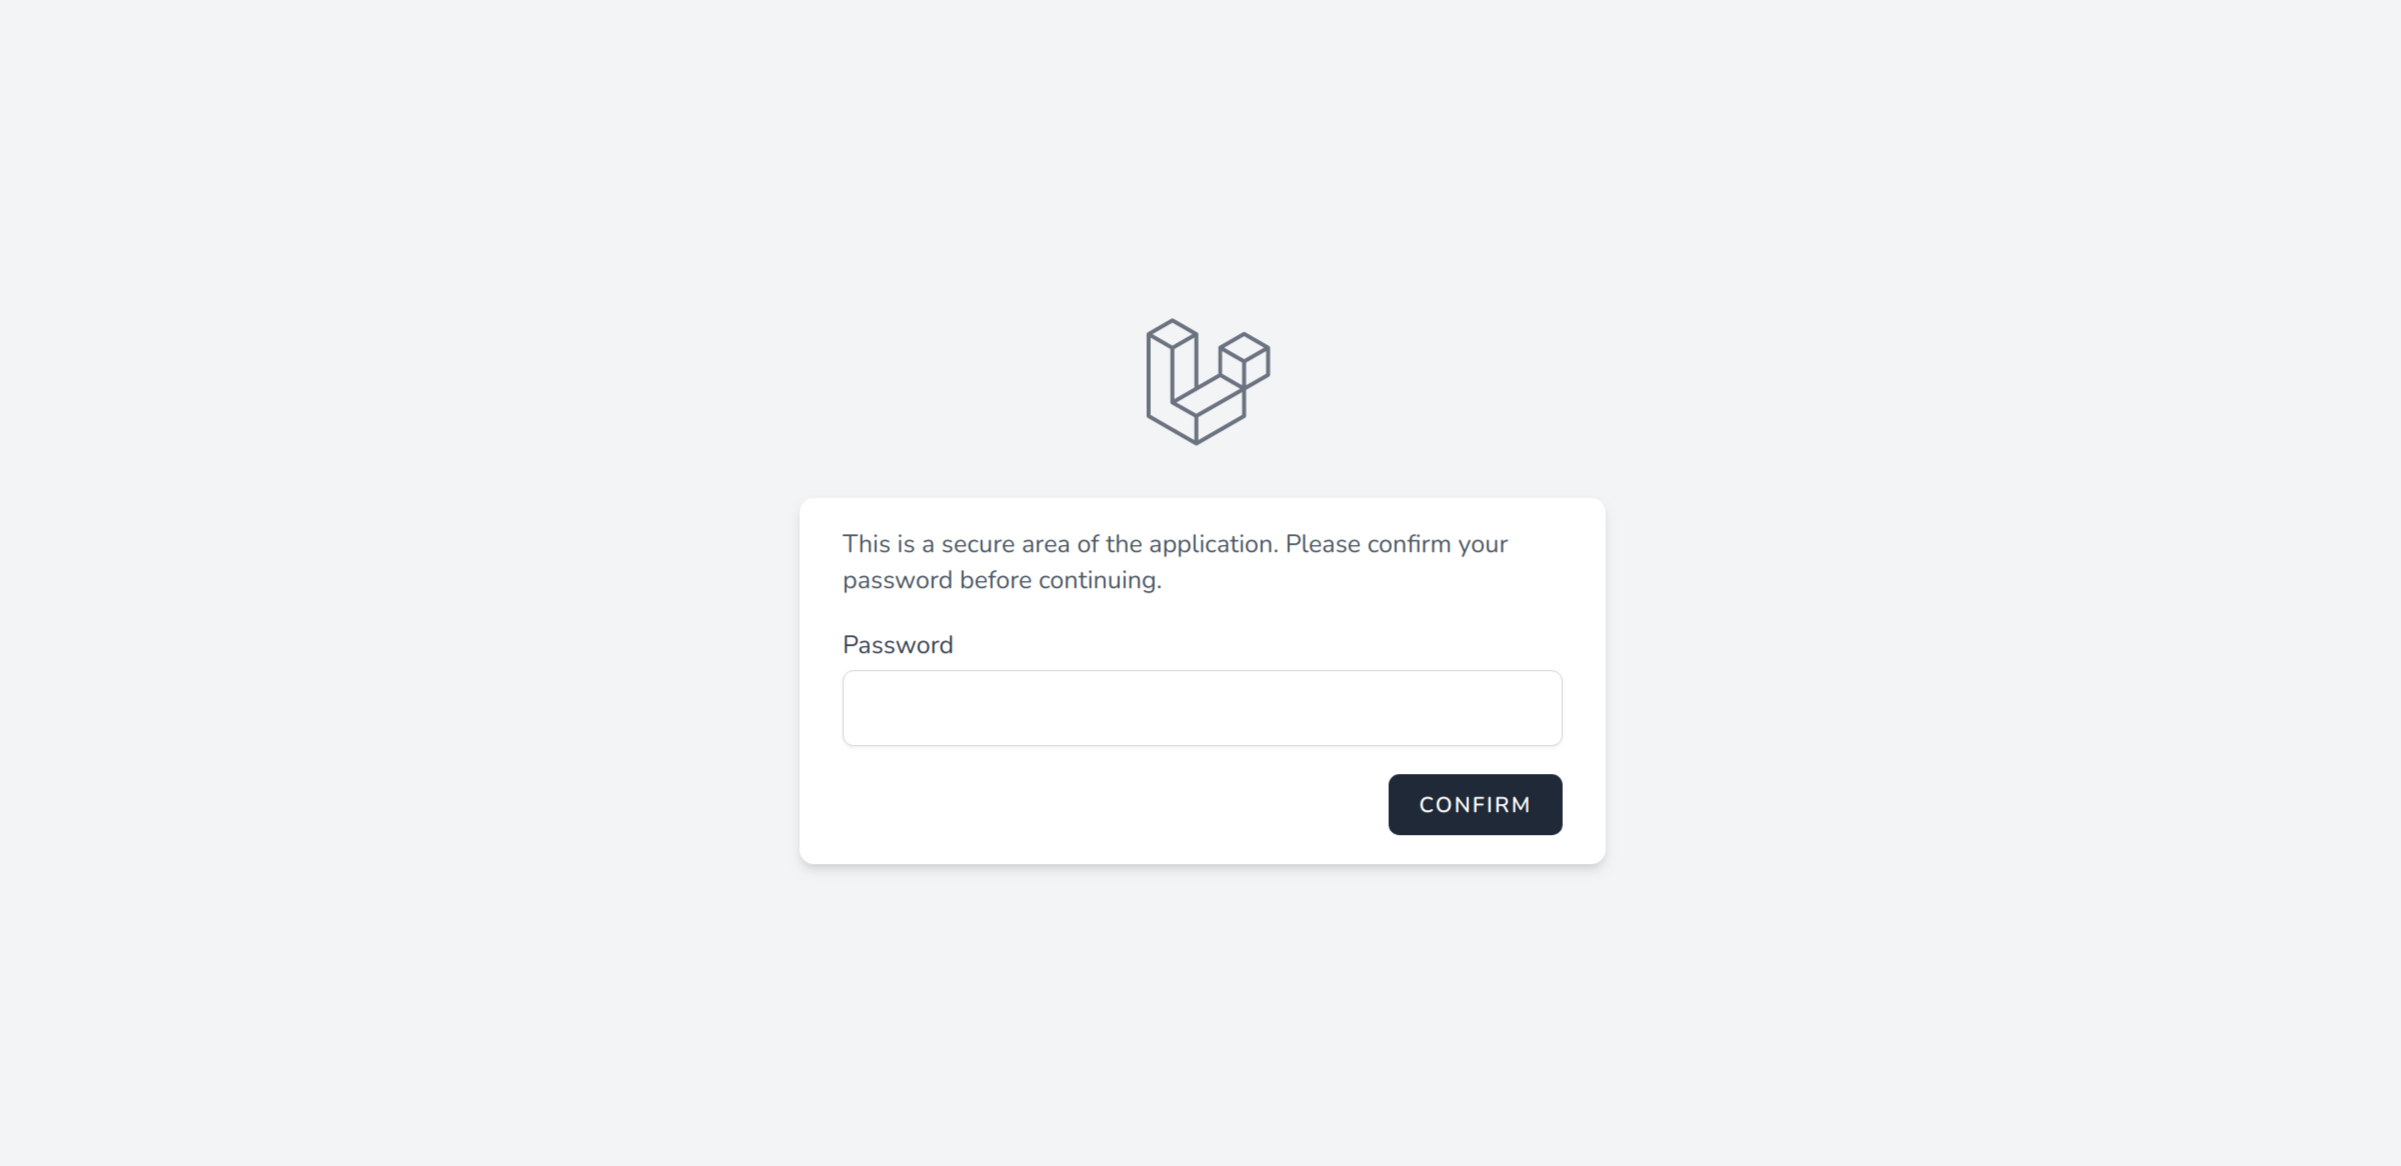
Password Confirmation
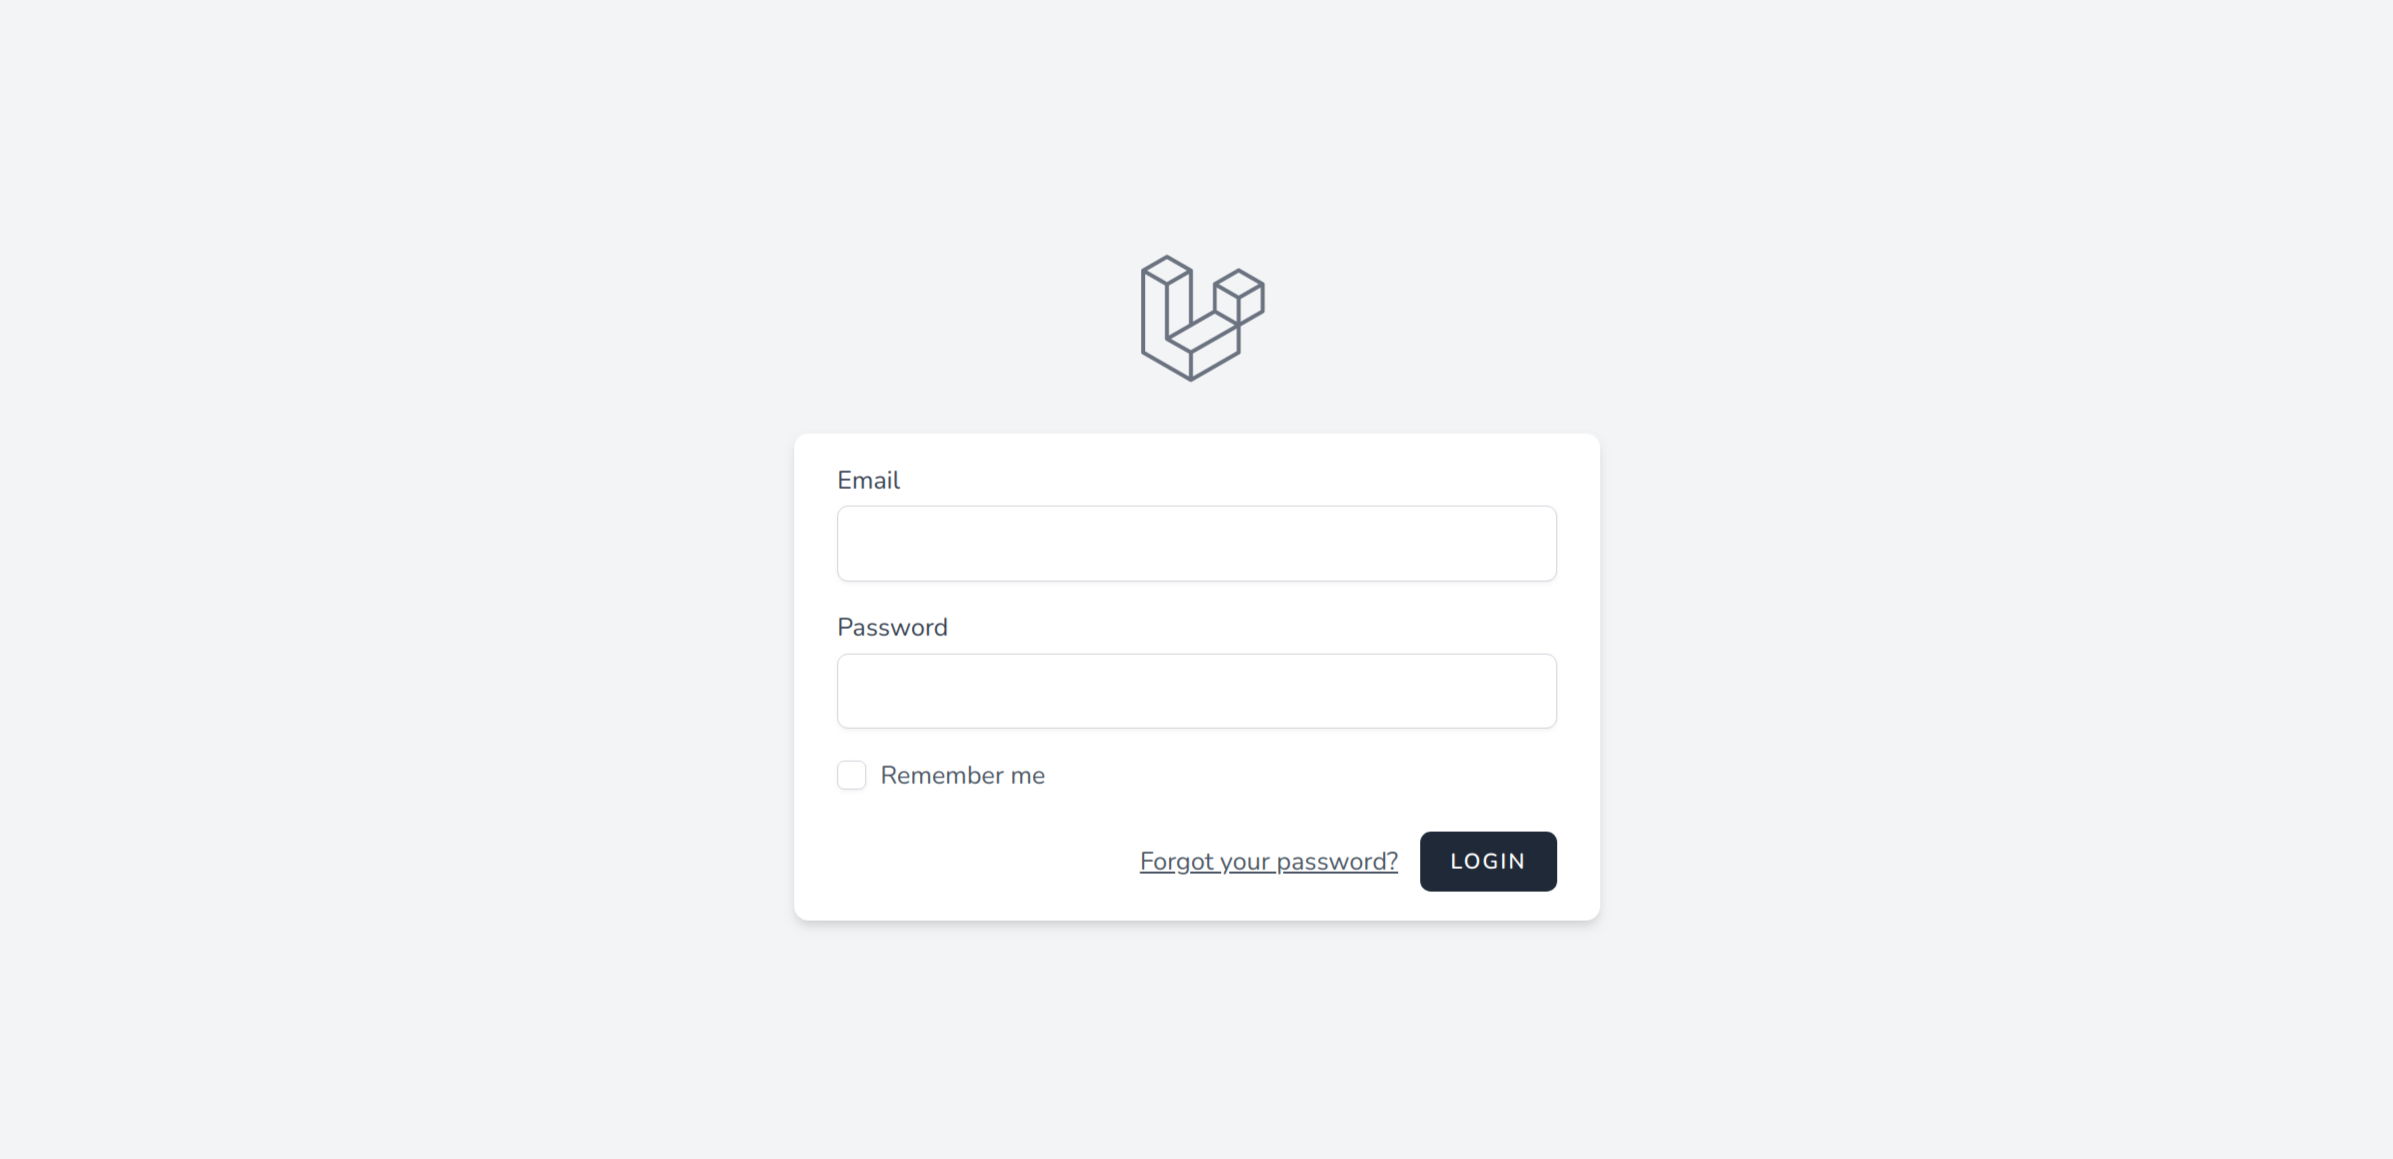
Login
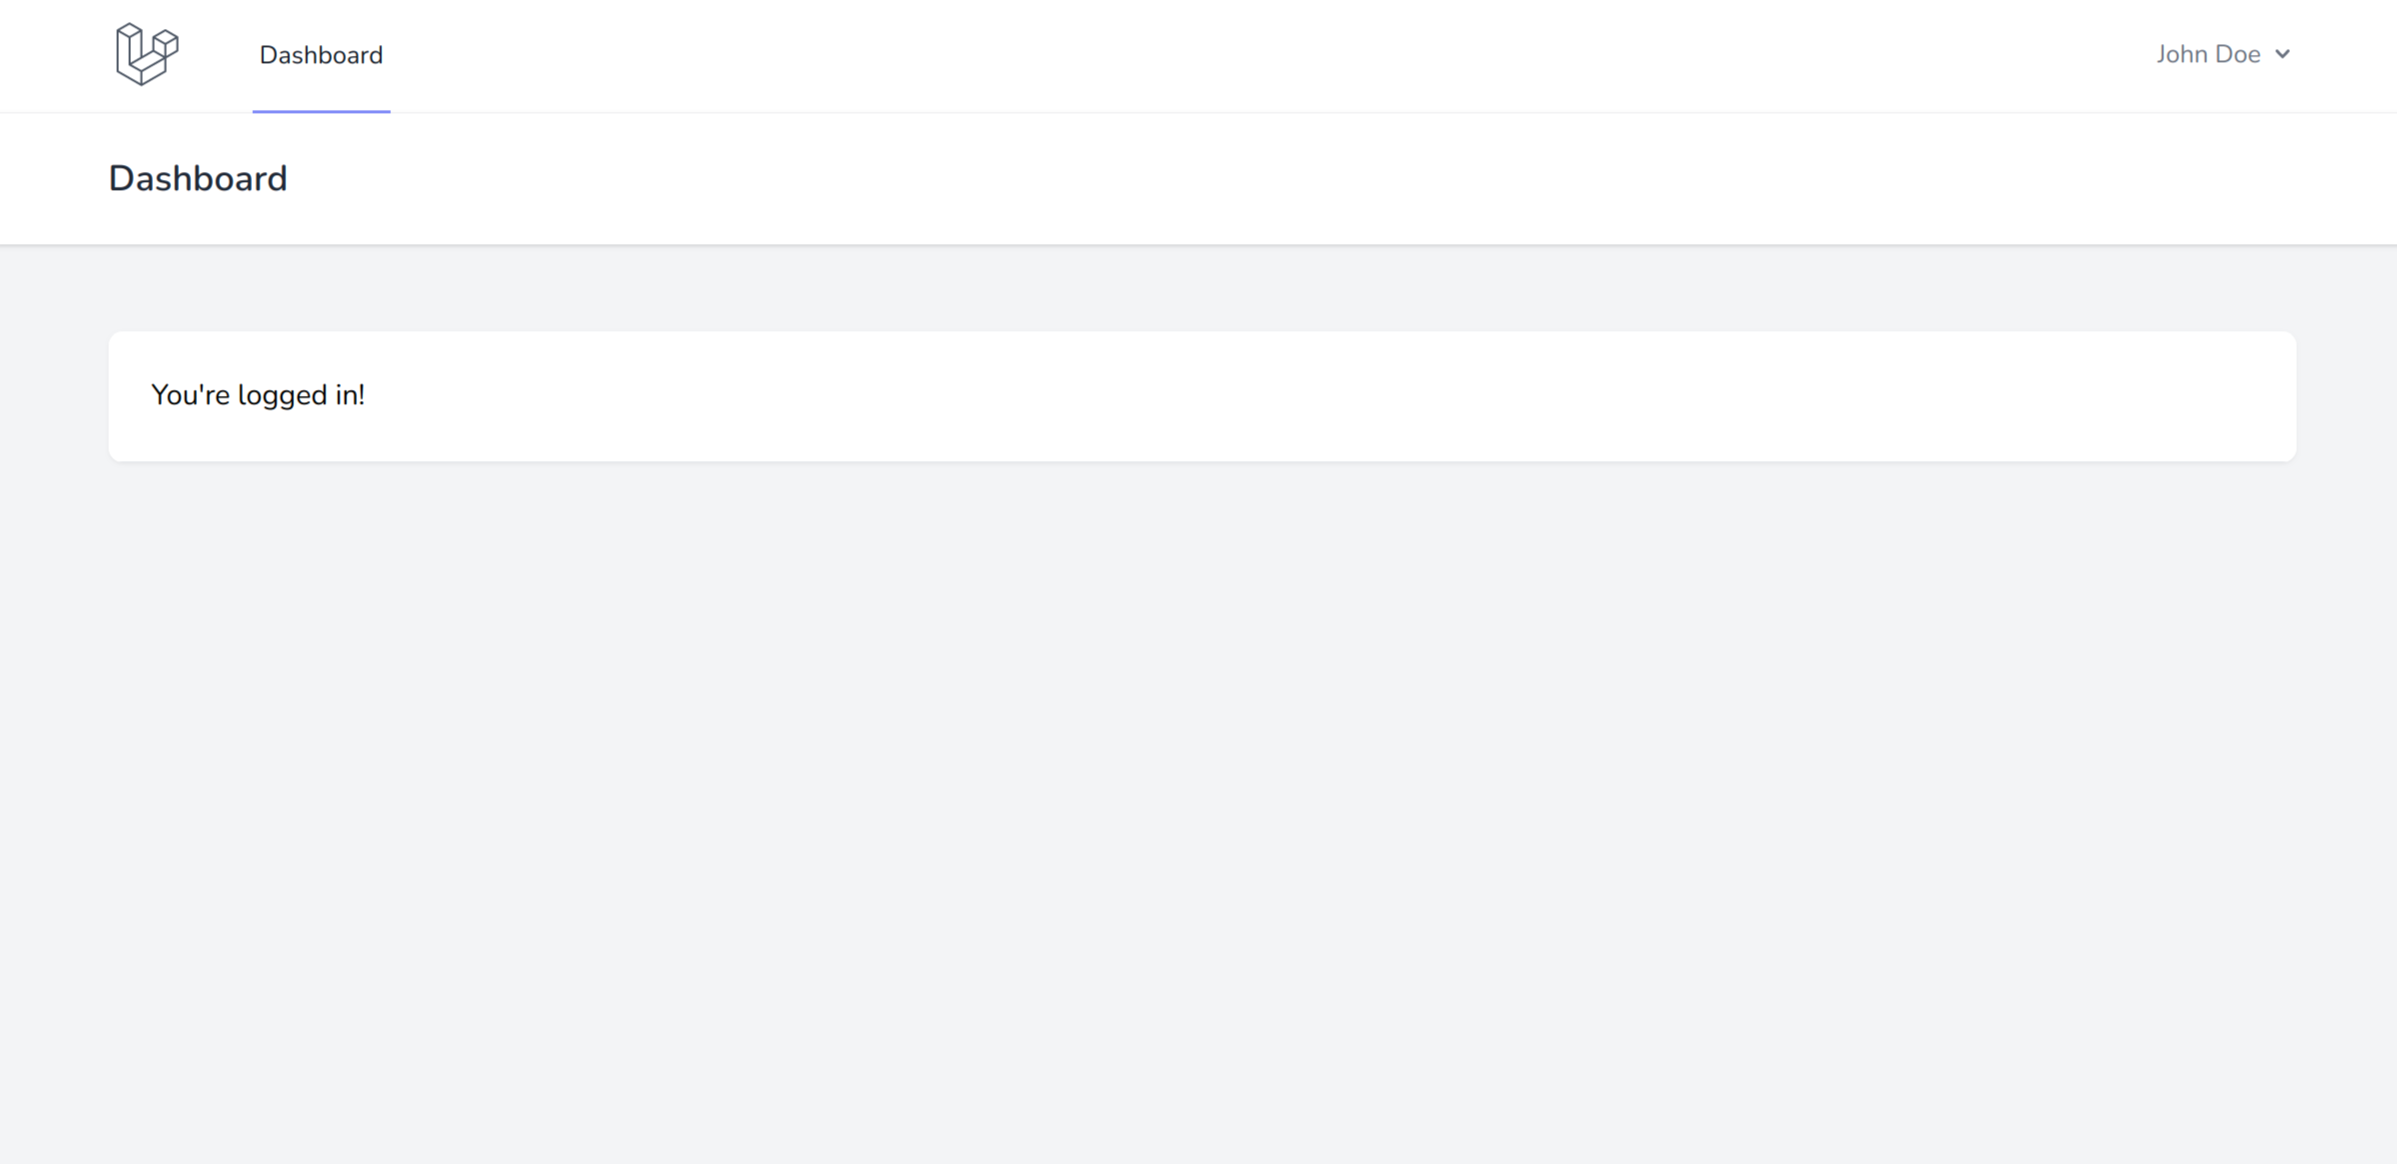
Dashboard
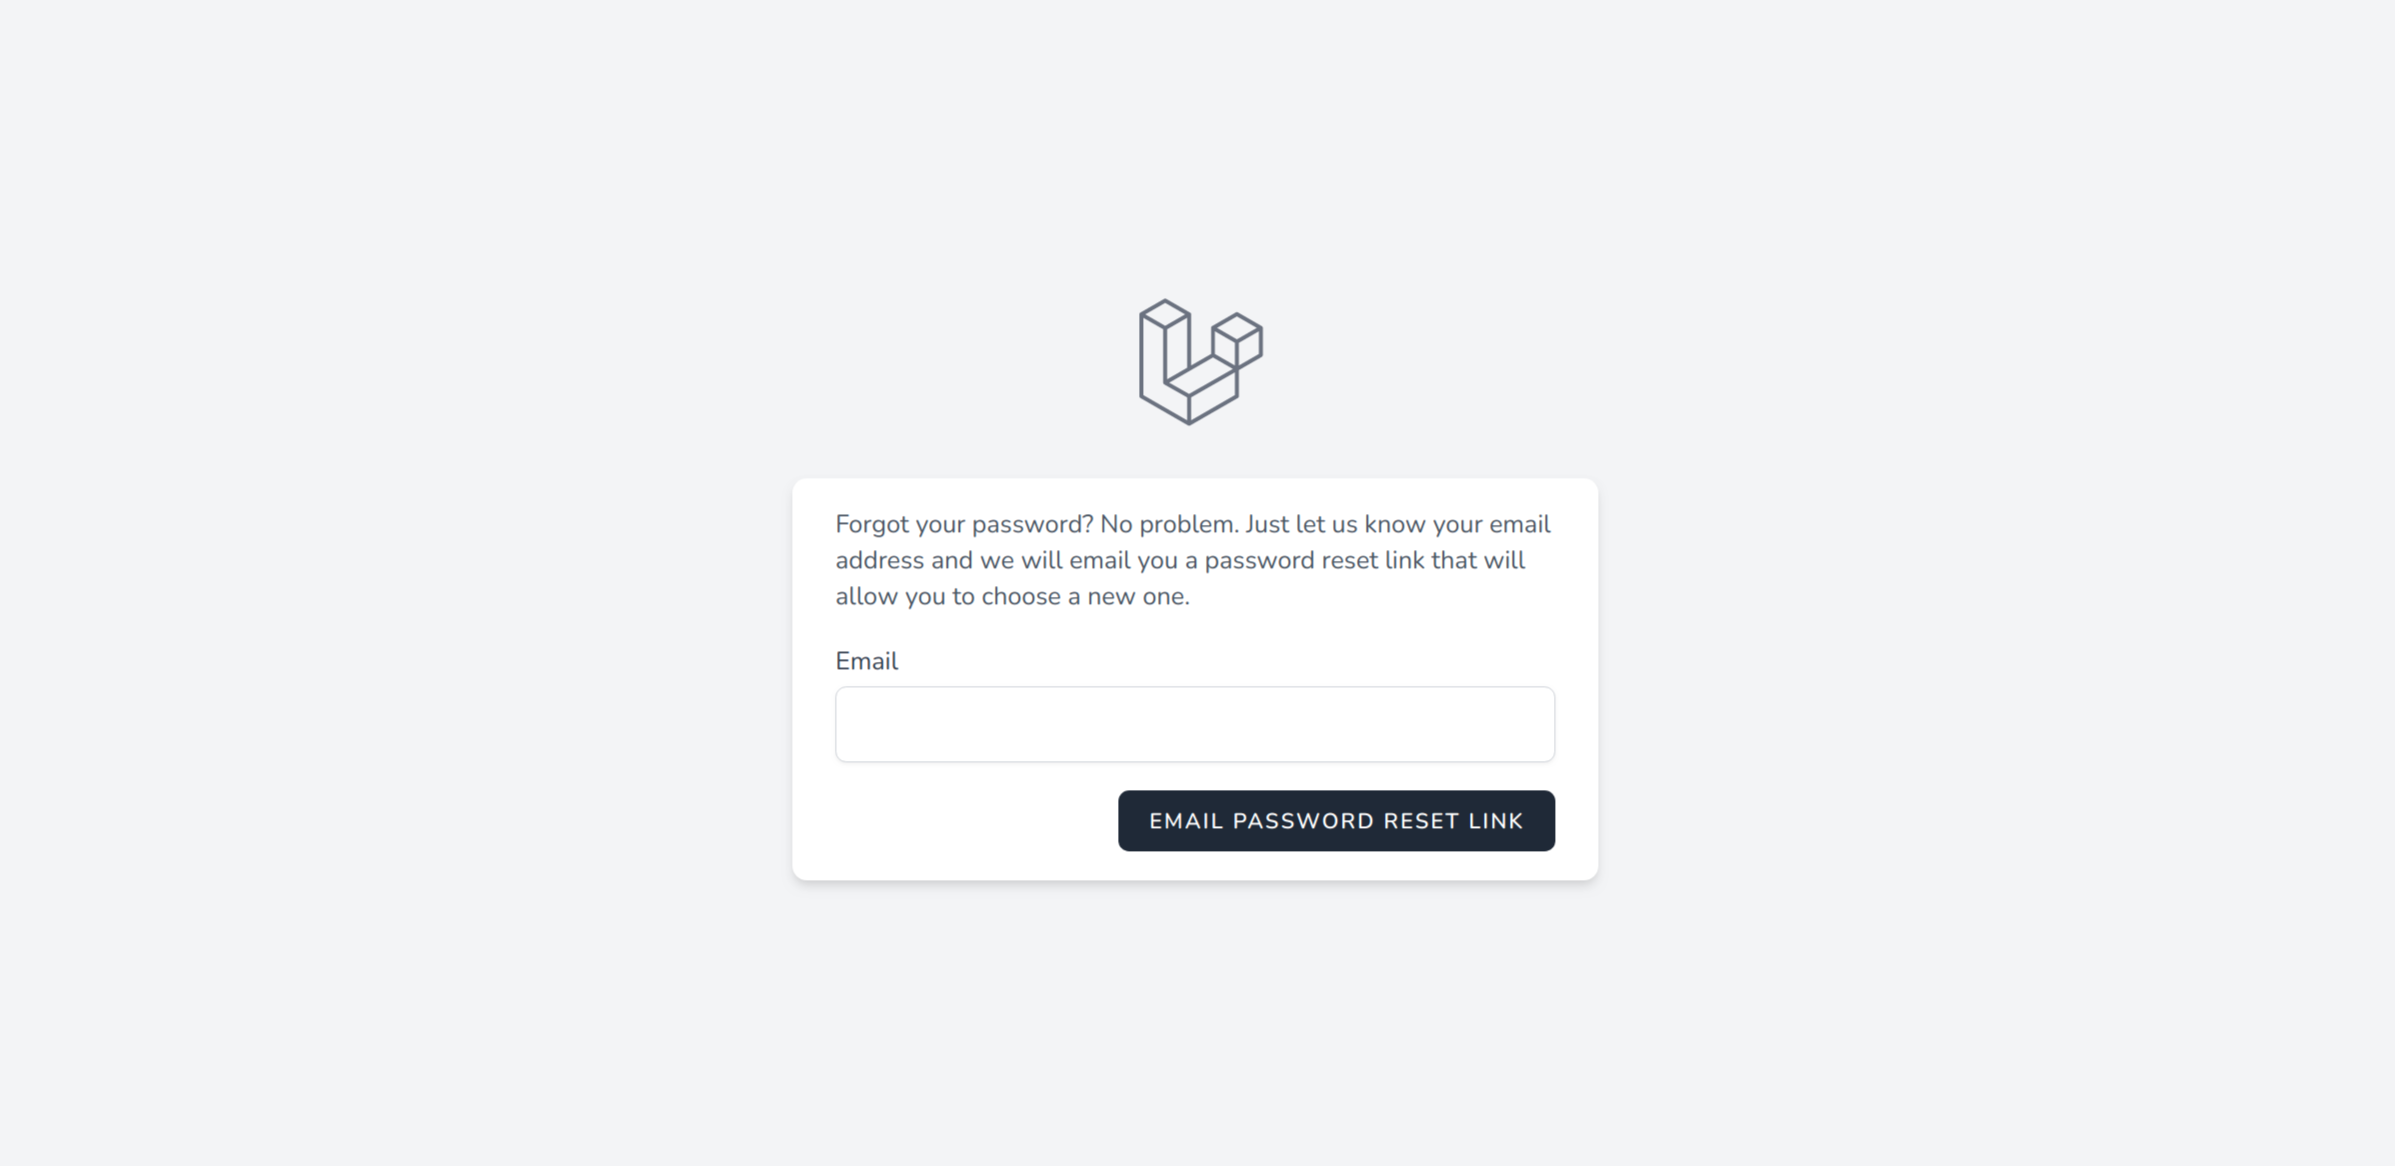
Forgot Password
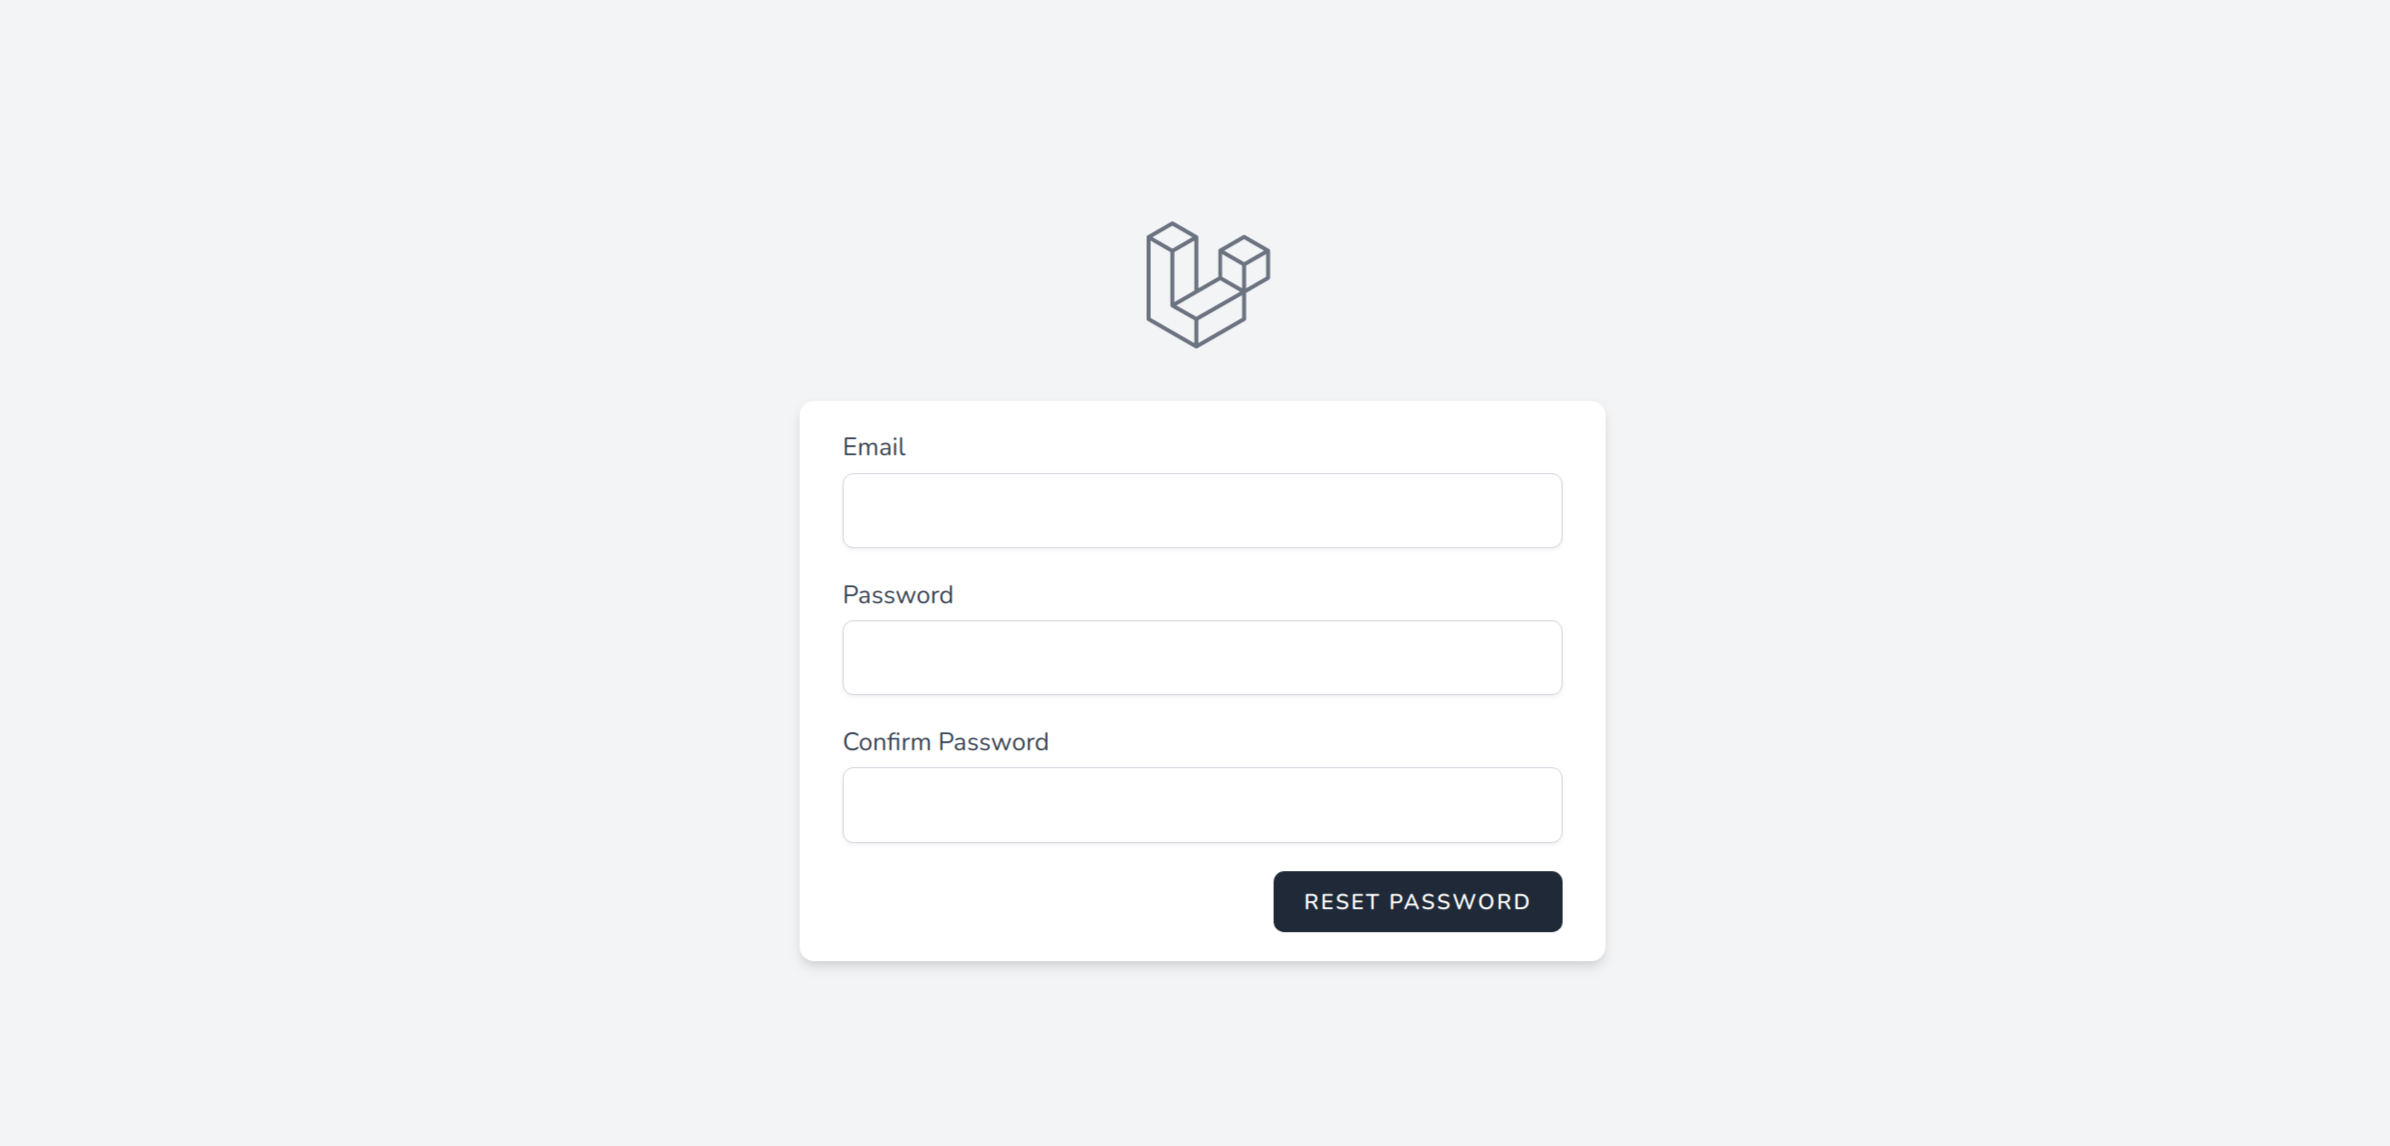
Reset Password
You are good to go! Enjoy!
Installation and Setup
Before we can start using Laravel Breeze, we need to install it and configure our Laravel application to use it. In this section, we will cover the installation process and explain how to run the Laravel Breeze installer.
A. Installing Laravel Breeze via Composer:
The first step in installing Laravel Breeze is to open up your command-line interface and navigate to the root directory of your Laravel application. Once you are in the root directory, run the following command to install Laravel Breeze:
composer require laravel/breeze --dev
This will download and install the necessary dependencies for Laravel Breeze.
B. Running the Laravel Breeze Installer:
After Laravel Breeze has been installed, we can run the Laravel Breeze installer to generate the authentication scaffolding. To do this, run the following command in your terminal:
php artisan breeze:install
This will generate the necessary views, routes, and controllers needed for authentication. Additionally, it will update the application’s webpack.mix.js file to include the necessary assets for the authentication views.
Once the installer has finished running, you can verify that the authentication scaffolding has been generated by navigating to the routes/web.php file in your Laravel application. You should see the following lines of code:
These routes define the authentication endpoints and controllers that were generated by the Laravel Breeze installer.
Congratulations, you have successfully installed and set up Laravel Breeze in your Laravel application. In the next section, we will cover how to create a basic authentication system with Laravel Breeze.
C. Configuring the database connection:
Before we can start using Laravel Breeze’s authentication features, we need to configure our database connection. Laravel Breeze uses Laravel’s built-in authentication features, which require a database to store user information.
To configure the database connection, open up the .env file located in the root directory of your Laravel application. Update the following lines to match your database configuration:
Make sure to replace your_database_name, your_database_username, and your_database_password with your actual database credentials.
After you have updated the .env file, run the following command in your terminal to create the necessary tables in your database:
php artisan migrate
This will create the required tables for Laravel’s authentication features, such as users, password_resets, and personal_access_tokens.
With the database connection configured and the necessary tables created, we can now move on to creating a basic authentication system with Laravel Breeze.
Creating a Basic Authentication System:
Now that we have installed and set up Laravel Breeze, we can start creating a basic authentication system. In this section, we will cover how to generate the authentication scaffolding, configure the authentication guards and providers, add user registration and login functionality, add logout functionality, and customize the authentication views.
A. Generating the Authentication Scaffolding
To generate the authentication scaffolding, we can use Laravel Breeze’s pre-built commands. Run the following command in your terminal to generate the authentication scaffolding:
php artisan breeze:auth
This will generate the necessary views, routes, and controllers needed for authentication, as well as the front-end assets required for the views.
B. Configuring the Authentication Guards and Providers
By default, Laravel Breeze uses Laravel’s built-in authentication guards and providers. However, we can configure these to fit our needs. To configure the authentication guards and providers, open up the config/auth.php file and make the necessary changes.
For example, if you want to use a custom guard and provider for your authentication system, you can update the following lines of code:
C. Adding User Registration and Login Functionality
With the authentication scaffolding generated and the guards and providers configured, we can now add user registration and login functionality. By default, Laravel Breeze includes these functionalities in the generated views and controllers.
To access the user registration and login pages, navigate to /register and /login respectively in your application’s URL. From there, you can register a new user or log in with an existing user.
D. Adding Logout Functionality
In addition to user registration and login functionality, we also need to add logout functionality. This can be achieved by adding a logout route and controller.
To add the logout route and controller, open up the routes/web.php file and add the following lines of code:
use App\Http\Controllers\Auth\AuthenticatedSessionController;Route::middleware(['auth'])->group(function () { Route::post('/logout', [AuthenticatedSessionController::class, 'destroy']) ->name('logout');});
This will create a new route that logs the user out when accessed.
E. Customizing the Authentication Views
Finally, we can customize the authentication views to fit our application’s design. The views can be found in the resources/views/auth directory.
To customize the views, you can modify the HTML and CSS as needed. Additionally, you can also customize the authentication controllers to add additional functionality, such as sending a welcome email to new users.
With these steps completed, you have successfully created a basic authentication system with Laravel Breeze.
Customizing the Registration Form
Laravel Breeze provides a default registration form that includes the basic fields required for user registration. However, in some cases, you may need to customize the registration form to include additional fields or validate the input of custom fields. In this section, we will cover how to add custom form fields, validate custom form fields, and store custom form data in the database.
A. Adding Custom Form Fields
To add custom form fields to the registration form, we need to modify the registration view located at resources/views/auth/register.blade.php. You can add additional input fields to the form as needed. For example, if you want to add a “phone number” field, you can add the following code:
Once we have added custom form fields, we need to validate them before storing the data in the database. Laravel provides a simple way to validate form input using validation rules. To validate custom form fields, we can add validation rules in the app/Http/Controllers/Auth/RegisteredUserController.php file.
For example, to validate the “phone number” field, we can add the following code to the store method:
This will ensure that the “phone number” field is required and has a maximum length of 20 characters.
C. Storing Custom Form Data in the Database
Once we have added custom form fields and validated the input, we need to store the data in the database. To do this, we need to modify the create method in the app/Actions/Fortify/CreateNewUser.php file.
For example, to store the “phone number” field in the database, we can add the following code to the create method:
public function create(array $input){ return User::create([ 'name' => $input['name'], 'email' => $input['email'], 'password' => Hash::make($input['password']), 'phone_number' => $input['phone_number'], ]);}
This will store the “phone number” field in the user’s table along with the other fields.
With these steps completed, you have successfully customized the registration form in Laravel Breeze and are now able to add, validate, and store custom form data in the database.
Implementing Social Authentication
Social authentication allows users to log in to your application using their social media accounts, such as Google or Facebook. Laravel Breeze makes it easy to implement social authentication using Laravel’s Socialite package. In this section, we will cover how to set up Socialite, create socialite login and registration routes, and implement socialite login and registration functionality.
A. Setting up Socialite
To set up Socialite, we need to install it via composer. You can do this by running the following command in your terminal:
composer require laravel/socialite
Once installed, we need to configure Socialite by adding the necessary credentials to the .env file. For example, if you want to use Google authentication, you would add the following lines to the .env file:
C. Implementing Socialite Login and Registration Functionality
Finally, we can implement socialite login and registration functionality by modifying the AuthenticatedSessionController and RegisteredUserController files.
To implement socialite login, we can modify the redirectToProvider method in the AuthenticatedSessionController file:
public function redirectToProvider($provider){ return Socialite::driver($provider)->redirect();}
This will redirect the user to the social media login page.
To handle the callback from the social media login page, we can modify the handleProviderCallback method in the AuthenticatedSessionController file:
This will create a new user with the email and name retrieved from the social media provider, and log them in to your application.
To implement socialite registration, we can modify the redirectToProvider and handleProviderCallback methods in the RegisteredUserController file in a similar manner.
With these steps completed, you have successfully implemented social authentication in Laravel Breeze using Laravel’s Socialite package.
VI. Building a Multi-Authentication System
Sometimes, you may need to implement multiple authentication systems in your application. For example, you may want to have one authentication system for regular users and another for administrators. In this section, we will cover how to build a multi-authentication system in Laravel Breeze.
A. Creating Multiple Authentication Guards
To create multiple authentication guards, we need to modify the config/auth.php file. By default, Laravel Breeze only has one guard named web. We can add additional guards by adding new entries to the guards array. For example, to create a guard named admin, we can add the following code:
Next, we need to configure multiple authentication providers. Providers define how to retrieve the user model for a given guard. We can add new providers by adding new entries to the providers array. For example, to create a provider named admins, we can add the following code:
C. Creating Different Login and Registration Forms for Different User Types
Finally, we can create different login and registration forms for different user types by modifying the AuthenticatedSessionController and RegisteredUserController files.
To use a different form for a specific guard, we can add a guard parameter to the route. For example, to use the admin guard for the login and registration forms, we can modify the following routes in the routes/web.php file:
Then, we can create separate AdminLoginRequest and AdminRegistrationRequest classes to handle the validation for the admin forms.
With these steps completed, you have successfully built a multi-authentication system in Laravel Breeze.
Customizing Laravel Breeze Views and Routes
By default, Laravel Breeze provides basic views and routes for authentication. However, you may want to customize these views and add your own routes and controllers. In this section, we will cover how to customize Laravel Breeze views and routes.
A. Customizing the Login and Registration Views
To customize the login and registration views, we can publish the Laravel Breeze views using the following command:
php artisan breeze:publish
This will publish the views to the resources/views/vendor directory. From there, we can modify the views as needed.
For example, we can modify the login.blade.php view to add custom HTML and CSS:
To add custom routes and controllers, we can create new routes in the routes/web.php file and create new controllers in the app/Http/Controllers directory.
For example, we can add a new route for a dashboard page and create a new controller to handle the logic for the dashboard:
Open the terminal and navigate to the root directory of your Laravel project
b. Run the following command to install the Google Authenticator package: composer require pragmarx/google2fa-laravel
Publish the configuration file:
a. Run the following command to publish the configuration file: php artisan vendor:publish –provider=”PragmaRX\Google2FALaravel\ServiceProvider”
Migrate the database:
a. Run the following command to migrate the database: php artisan migrate
Configure the Google Authenticator package:
a. Open the config/google2fa.php file and configure the options as per your requirements. You can configure options like the length of the OTP, the allowed window of time for the OTP, and more.
Configure the User Model:
Add the use HasTwoFactorAuthentication; trait to your User Model
b. Implement the getGoogle2faSecretKey() method on your User Model to generate and store a secret key for each user
Configure the Middleware:
Open the app/Http/Kernel.php file and add the google2fa middleware to the $routeMiddleware array
b. Add the auth and google2fa middleware to your routes
Once you have completed these steps, your Laravel Breeze application will be set up with two-factor authentication. The next step is to configure the two-factor authentication views.
B. Configuring the Two-Factor Authentication Views
Customize the Two-Factor Authentication Views:
Create a new folder called 2fa in the resources/views/auth directory
Copy the login.blade.php and register.blade.php files from the vendor/laravel/breeze/stubs/resources/views/auth directory to the resources/views/auth/2fa directory
Update the login.blade.php and register.blade.php files to include the two-factor authentication form fields
d. Add the following line of code in the register.blade.php file to include the QR code for the user to scan with their Google Authenticator app: {{ $qrCodeUrl }}
Configure the Two-Factor Authentication Routes:
a. Open the routes/web.php file and add the following routes:
That’s it! You have successfully configured the two-factor authentication views in your Laravel Breeze application. The next step is to test the two-factor authentication process.
C. Testing Two-Factor Authentication
Enable Two-Factor Authentication for a User:
Log in to your Laravel Breeze application
Click on the Profile dropdown menu and select Two-Factor Authentication
c. Click on the Enable button and follow the steps to set up your Google Authenticator app
Test Two-Factor Authentication:
Log out of your Laravel Breeze application
Log back in with your email and password
You will be redirected to the two-factor authentication page where you need to enter the code generated by your Google Authenticator app
d. After entering the code, you will be logged in to your Laravel Breeze application
Congratulations! You have successfully tested the two-factor authentication process in your Laravel Breeze application.
Securing Your Laravel Breeze App
Rate Limiting and Throttling Requests
Open the app/Http/Kernel.php file
Add the following middleware to the $middlewareGroups array: ‘throttle:60,1’
This will limit the number of requests to 60 per minute for each user
B. Adding CSRF Protection
Open the app/Http/Kernel.php file
Add the \Illuminate\Foundation\Http\Middleware\VerifyCsrfToken::class middleware to the $middlewareGroups array
C. Configuring HTTP Secure Headers
Open the app/Providers/AppServiceProvider.php file
Copy the output of the php artisan key:generate –show command and paste it into the APP_KEY value in your .env file on the server.
Run the database migrations and seeders on your server by running the following command:
php artisan migrate --seed
Configure your web server to serve your Laravel Breeze application by creating a new virtual host or editing the default configuration file.
Restart your web server to apply the changes.
Visit your application’s URL in your browser to confirm that it is working properly.
Congratulations! You have successfully deployed your Laravel Breeze application to a production server.
Conclusion:
In conclusion, Laravel Breeze is a powerful authentication solution for Laravel applications that provides a simple and elegant way to implement authentication features quickly. Throughout this tutorial, we have covered various aspects of Laravel Breeze, from installation and setup to customizing views and implementing two-factor authentication.
Some of the key takeaways from this tutorial include:
Laravel Breeze is a lightweight and minimalistic authentication solution for Laravel applications.
Laravel Breeze provides all the necessary features for user authentication, including user registration, login, logout, and password reset.
Laravel Breeze is highly customizable and provides various options to customize authentication features to meet specific project requirements.
Laravel Breeze also supports social authentication, multi-authentication, and two-factor authentication.
With the knowledge gained from this tutorial, you can start building robust and secure Laravel applications with Laravel Breeze.
As a next step, you can explore the various advanced features of Laravel Breeze, such as email verification, password confirmation, and user roles and permissions.
Finally, if you want to learn more about Laravel and its ecosystem, you can check out the official Laravel documentation, Laracasts, and other resources available online.
Thank you for following along with this Laravel Breeze tutorial, and happy coding!
Nirav Panchal
Lead – Custom Development
Lead of the Custom Development team at KrishaWeb, holds AWS certification and excels as a Team Leader. Renowned for his expertise in Laravel and React development. With expertise in cloud solutions, he leads with innovation and technical excellence.
Interact With Me
Hire the right Laravel Development Company with confidence!