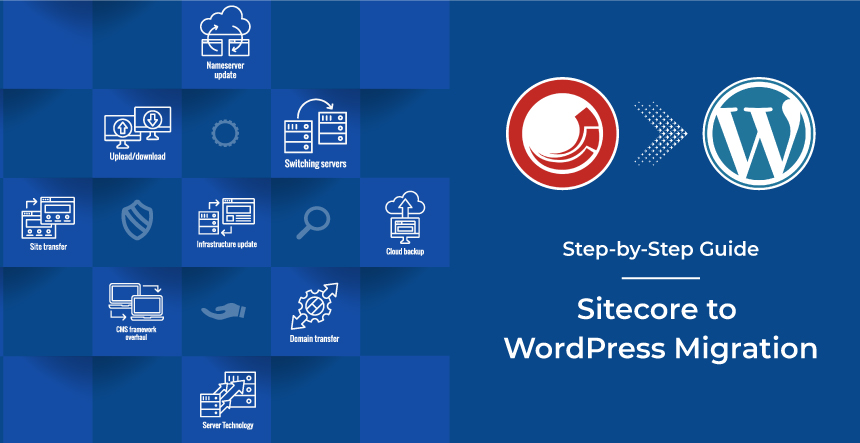
Sitecore to WordPress migration has many benefits for any enterprise. We will discuss all the steps in detail including the obvious merits when a company switches from Sitecore to WordPress. CMS-based websites are quick to develop with their drag-and-drop functionality and require minimal coding efforts. They are cost-effective, easy to develop and deploy, user-friendly, scalable, SEO-supportive, extensible due to plugins, and more. These are the common advantages of having CMS-based websites for enterprises that want a sturdy website, which is accessible on a global level.
More You should Explore: Other WordPress Migration Guides
Built on the ASP.NET framework, Sitecore is one of the most popular enterprise-level CMSs in the technology market. It delivers a comprehensive digital experience by transcending the traditional CMS norms and offering analytics, web stores, automation, personalization, etc. under one umbrella. It leveraged the best features of the .NET framework like security, flexibility, etc. to create an enterprise-grade Content Management System. It is used by top businesses in the world including Nestle, Toshiba, and Canon. With a Windows-like user interface, Sitecore is easy to operate and offers role-based customization.
About WordPress
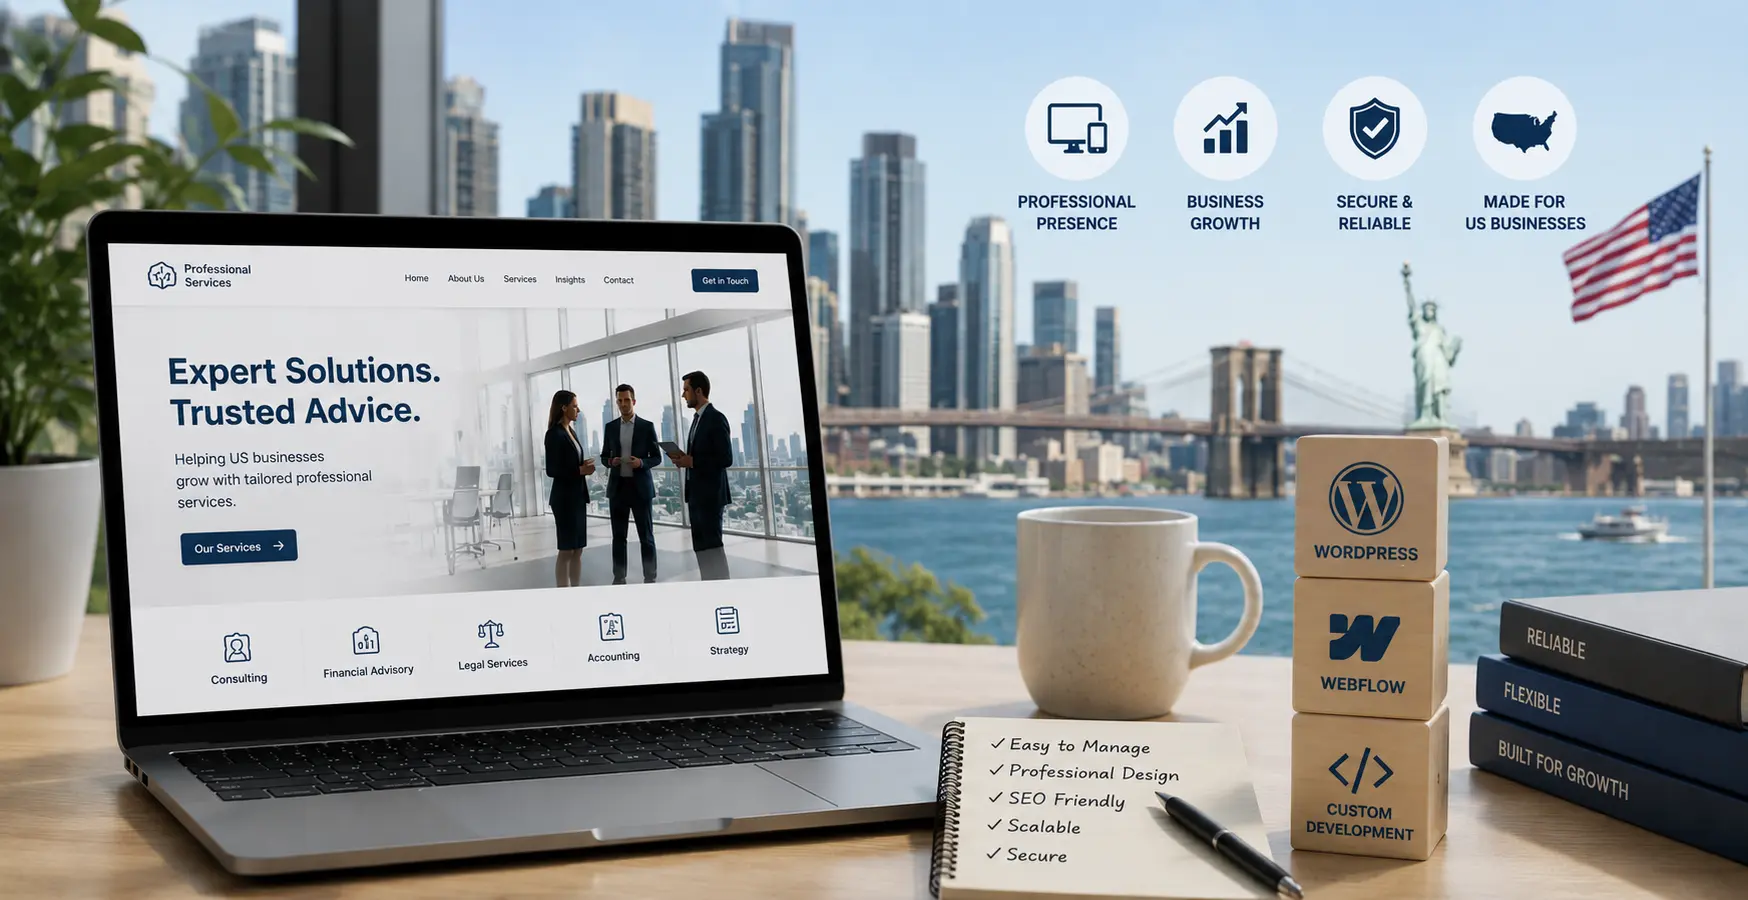
WordPress is an open-source CMS used for building websites, blogs, eCommerce sites, and more. Written in PHP, this CMS dominates the web development market with about 43% share. Nearly, half of the CMS-based websites in the world are made on WordPress. This free CMS offers all features required for enterprise web application development including flexibility, extensibility, third-party integration, customization, and more. Affordability is the reason why people are choosing WordPress over other CMSs, including Sitecore. Being an open-source, free software, WordPress minimizes the cost of website development.
6 Phases of Sitecore to WordPress Migration
Firstly, divide the process into a few smaller phases to minimize the chances of any errors. This also helps give an eagle’s eye view of probable dangers and keeps the tech teams ready for any unwelcome situation.
Phase 1: Current and After Migration Analysis
Your digital teams must be ready for analyzing the before and after migration situations. This helps to cement any technical loopholes.
1.1) Plan out your milestone & timeline journey
As an enterprise-level migration may take a couple of weeks, you must plan the process when the website is not jam-packed with business. Plan your milestones as per the size of the website, the amount of content to load, and the timeframes to accomplish each task. Plan when a few months prior to the Sitecore license renewal time to make optimum use of Sitecore, before making a switch.
1.2) Deciding which CMS, you would like to migrate to
You have a lot of CMSs in the market but WordPress is a clear winner. In this article, we are covering Sitecore to WordPress migration. So, let’s move ahead with it. WordPress is a fast, SEO-friendly, intuitive, extensible, and user-friendly CMS. Even the biggest tech giants like Facebook, Spotify, Salesforce, Etsy, and more, trust WordPress for its enterprise-level features.
Do we need to say anything more in the favor of WordPress? If yes, then check the comparison between Sitecore and WordPress in the following table:
If you are happy with the design of your Sitecore website, then skip this step. Otherwise, redesigning the site should be considered at this step to give a fresh new look to the website. If your company wanted to revamp the site, then this is the time. You can create a stunning UI with WordPress themes and templates. However, this may stretch the migration process, but the new design may appeal more to customers.
1.4) Finding Sitecore features in the WordPress environment
In order to avoid software bloating, companies can pick and choose the Sitecore features required in the new site. You can drop features that serve no purpose and create an optimum WordPress site. Some of the most revered features of Sitecore are headless architecture, multisite, multilingual design, analytics, multivariate testing, and more. A list of useful features should be kept ready before actual migration starts
1.4) Configuring third-party integration
Both Sitecore and WordPress are compatible with third-party integrations. You can again pick and choose the ones that are required to be migrated to the WordPress site. Make a list and drop those that are not useful on the new site.
1.5) Selecting the best hosting according to your audience
For enterprise-level applications, you need a secure hosting partner to withstand the bulk traffic without losing site performance. A managed hosting service will work wonders for enterprise applications. Depending on your monthly page view traffic, single or multisite approach, choose a reliable hosting partner like WordPress VIP, WP Engine, Pagely, etc. which are reputed hosting services for WordPress sites. Hosting services like WordPress VIP offers many premium features, which should be analyzed before investment.
1.6) Selecting your migration agency
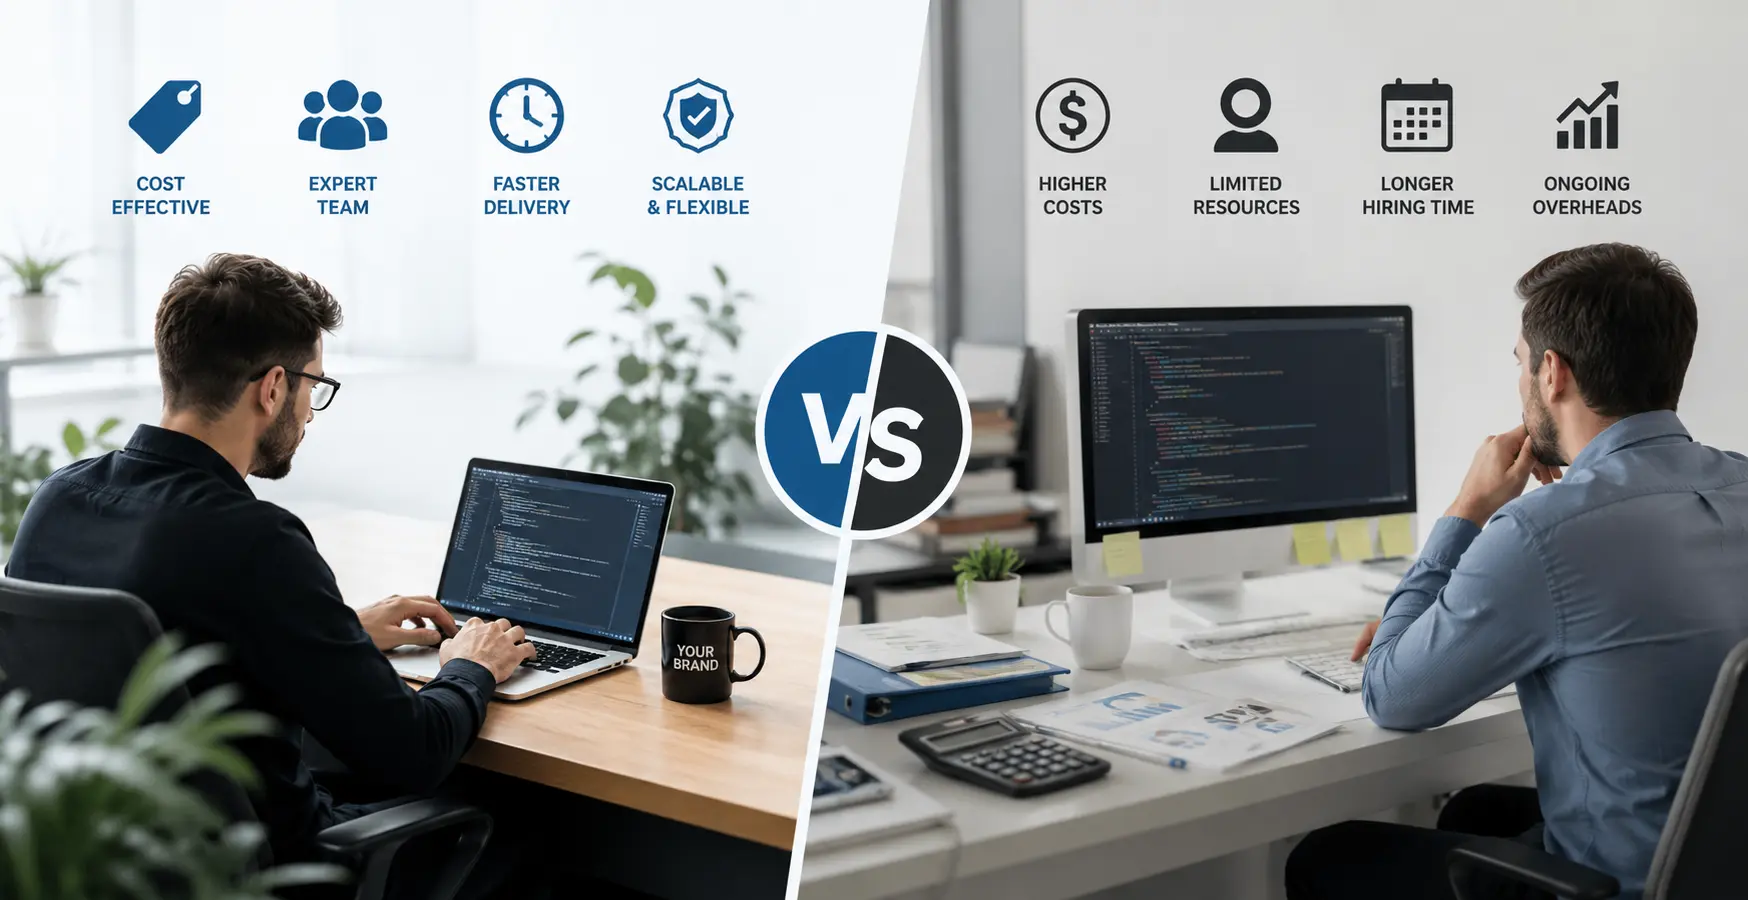
If you have a tech team with experience in migration, then it’s a big cost saver. Otherwise, it is advisable to hire WordPress migration service providers with a proven track record of efficiency. This is a wise investment as the enterprise cannot afford to lose data during the switch. Hiring an experienced migration agency prevents chances of inaccuracies during the migration.
Phase 2: Content Management & Before Migration Checklist
Before the actual process begins, you need to take care of certain aspects like data backups, etc. to ensure complete success.
The following are the points that must be taken care of before migration:
2.1) Backup everything related to your website
Take a complete backup of the existing Sitecore site to prevent any hassles or data loss during the migration process.
2.2) Content and media backup
It is advisable to create a sheet for URLs of pages and content. This also gives an opportunity to drop any irrelevant content and media files from the site. Take a backup of every important element of the existing site.
2.3) Map out your plan, journey, testing phase, and ultimate goal
Meticulously chart down the migration plan, the milestones, the resources, etc. An elaborate plan with details will be helpful. List down what needs to change including design, architecture, specific features, etc. Having a precise, detailed plan will help in smoothly executing the entire process.
2.4) Comply with search engine presence and norms
It is observed that at times migration prompts a drop in website rankings. To prevent this, gear up for SEO preservation of the existing Sitecore site. List down the URLs, titles, meta descriptions, broken links, duplicate content, etc. Create 301 redirects to pass SEO ranking power from existing URLs to new URLs. Prepare a checklist for taxonomies, categories, links, SEO elements, etc. This would be useful in post-migration quality testing.
Phase 3: Getting into WordPress Ecosystem & Development
Now, the team needs to prepare the WordPress ecosystem and site structure. How do you want the new site to be? It’s time to reflect on that aspect now. WordPress installation, database configuration, and other processes can be executed from this WordPress article.
3.1) Deciding between a single site or multisite environment
It is time to decide whether you want a single-site WordPress installation or choose a multisite feature. With multisite, you can create a network of many subsites in just one installation. These sites may share data, plugins, themes and even users. Each site will have its own URL and is considered a unique identity by search engines. The database remains the same, but each site in the network uses a relevant subset of tables. The whole network of subsites will be managed by a Super Admin. However, few companies choose single-site installation as per the architecture of their existing site. Both have their own merits and depend completely on your vision for the new site.
3.2) Assigning authority and permission
WordPress offers five types of authorities or user roles, which are listed as follows:
Administrators: People who have the right to administer a single site including adding new posts, editing existing ones, installing and deleting extensions & themes, etc.
Editors: Those who can create, publish, modify, delete and manage posts. They can edit posts written by others. They can do the same for comments.
Authors: People with the right to write and publish posts on the site.
Contributors: They are limited to writing posts but are kept away from publishing them.
Subscribers: People with a very limited right to edit only their profile.
Depending on the architecture of the new site, user roles can be structured during Sitecore to WordPress migration. WordPress multisite is managed by a super admin while individual sites are managed by administrators.
3.3) Webpage design template creation
As WordPress is based on theme-based architecture, it is easy to create a new template. Install a desired theme from the dashboard by clicking on appearance -> Theme -> Add New. You can customize the theme as per the requirement of the site. Then set up the navigation menus. You can create custom navigation as per your need. WordPress facilitates the addition of specific widgets from Appearance -> Widgets. Page templates can be used to create a particular page or group of pages. Now, for the dynamic content, you can explore the Page template and create custom pages.
3.4) Block creation in WordPress
The tech team can create content blocks using the Gutenberg editor, which allows content management through blocks. It transcends the locked-down approach of Sitecore. Therefore, every content element including text, image, paragraph, etc. has its own block. These blocks can be styled and modified as per the creative needs of the site. How to create a content block through Gutenberg?
3.5) Enabling all the website features with plugins & configuring the same
Remember, we asked to make a list of features to include in the web pages. Well, these features can be mapped with their respective WordPress plugins. Extensions of plugins are free or paid software that result in functionality. WordPress allows the integration of third-party plugins as well. Add plugins as per the required features. You will get most of them here. They save developers from coding the functionality from scratch. They save development costs and time.
3.5) Achieving all the integration in WordPress
Most Sitecore plugins have a substitute in WordPress. The following table shows the major extensions, which may be helpful.
Sitecore Integration
WordPress Plugin
Microsoft Dynamics 365
Dynamics 365 Integration
Siteimprove
Siteimprove
CyberSource
Stripe, Paypal, Authorize.net
Cognigy
Chatbot with IBM Watson
Phase 4: Actual Shifting & Deployment
Once you are done with setting up the WordPress ecosystem, it’s time to export content and configurations to the new site.
4.1) Exporting all the content in XML Format from Sitecore
Execute the following steps to export content from Sitecore
Login with admin credentials
Go to Control Panel -> Localization -> Export Languages
Select the export language and top-level Sitecore element as the root element for the export. Once the export completes -> Next and you will get an XML file.
Select the Sitecore item “Content” for exporting the content. The same process needs to be followed for exporting Configuration.
Choose a path to store the XML database on the server.
Hit the “Download” button to save the content database XML file on your local system.
The next step is to write a customized script to convert the Sitecore .xml file to a WordPress .xml file.
Execute the following steps for the migration of media files
Repeat the first three steps listed in the above section.
Choose the Media Library that needs to be exported. Repeat the same process for exporting configuration.
Repeat steps five and six from the above section.
Below is the Sitecore XML format database.
Your developer team needs to write custom scripts to convert the Sitecore .xml file into a WordPress Compatibility .xml file. The migration agency can also do this for you. To launch the site with WordPress VIP, click here.
4.3) Final checklist for deploying
A few important things need to be considered prior to the final deployment of the site.
Sitemap finalization: Check your sitemap. See if you want to add new pages or remove those that are not useful. You can do that at this stage.
List all your Integration requirements: Make a list of all the integrations planned for the WordPress site. If you are using any from the existing Sitecore site, then highlight them to avoid any confusion. Marketing, automation and others are some of the best integrations for WordPress.
Defining the timeline: Decide a timeframe that creates a minimum disturbance in the normal operations of the enterprise. Firstly, it should be done at a time when there is low traffic. You can execute the migration plan on long weekends or days when it least disturbs the functioning of the web application.
Enabling freeze mode when migration: During the migration time, it is advisable to freeze the Sitecore website. The reason is the content updated during the migration time needs to be re-exported post-migration. So, you need to monitor the date on which content was exported during Phase 2(content preparation phase). Followed by this, freeze the Sitecore site to prevent the editorial team from adding new content. Digital agencies can do this with finesse, without losing any data during migration.
Switching your DNS: Next thing in line is to point the DNS domain to the new hosting provider of your site. Your team can create a support ticket for the hosting provider so that they set up DNS management for your new site. You can also create DNS entries to replicate the existing setup. On finishing the setup, it’s important to cross-check and switch to their name servers. Do this one week prior to the launch of the WordPress site.
Deploying all the media assets: Migrate all the media files including audio, video, image, PDFs, etc. from Sitecore CMS or CDN.
Caching resolution: It’s important to execute WordPress caching to enhance the new site’s performance. Use Plugins like W3 Total Cache, WP Super Cache, and Cache Enabler can come to the rescue. Install them to cache the WordPress site’s content as static files. When a user demands a certain file, it is served to them from the Cache. This improves the site’s performance by minimizing the load on the server.
Phase 5: Testing Your New Environment
5.1) WordPress Website Testing
Make sure that your WordPress site goes through all kinds of Quality Assurance tests. Whether it is design, SEO, or plugins, everything needs to be checked with precision. Every site element should be checked. Restrict CMS access by defining roles and permissions.
5.2) Installing anti-malware and firewall
Focus on enhancing the security aspect to safeguard the site against any potential threats. Apply firewall solutions like Cloudflare, Sucuri, etc., and enable multifactor authentication. Schedule auto backups of plugins. Use an SSL certificate for secure online communications.
5.3) Search Engine Optimization for the Entire Website
As such WordPress takes care of SEO, but still you need to create a new sitemap and Robots.txt files with the latest structure of the site. Double-check this file and make sure that on-site SEO is up to the mark. Review SEO elements like broken links, internal links, redirects, and more.
5.4) Integrating analytics and website health check-up tools
You can integrate a third-party analytics tool to keep an eye on the performance of your site. Monitor the reports to check if the new site is performing well or not.
Phase 6: Leveraging WordPress Benefits
Now, your WordPress site is ready, up, and running. However, your team is used to the Sitecore site. They might not be familiar with content creation and management in WordPress.
6.1) Training the team
Once the Sitecore site is migrated to WordPress, it is advisable to train your team for creating and managing content in WordPress. Let them go through WordPress tutorials, or plan workshops to teach them how to play with the new site.
6.2) Studying the benefits of WordPress
Train them to use WordPress tools with efficiency. Let the authorized roles know how to create posts using the block editor. Based on the role, let them learn how to add, remove and edit users. Train them to manage media files, etc. Let them learn through the WordPress Learning Center.
6.3) Goals and CTA optimization
Decide the marketing, SEO, and design goals to optimize the new site. Add CTAs intuitively to create a better connection with the audience and generate instant contact. Whether you want to keep contact forms or contact buttons or banners, arrange them as per the marketing strategy of the website.
6.4) Heatmap for better analytics
Integrate Heatmap tools for analyzing the site. It will generate data in the form of graphical images that show the user’s behaviour on the webpage.
Conclusion
Sitecore to WordPress migration is a tiring task and demands precision at all levels. However, it is recommended to switch to WordPress for its open-source nature and free availability. It saves both, the time and money required for application development.
A Technical Architect, proficient in WordPress, Drupal, Laravel, and DevOps tasks, crafts robust IT solutions with a blend of expertise and versatility in web development and infrastructure management.